Mouthwatering Chocolate Mocha Brownies
Are you in the mood for a delightful fudgy treat with a bit of coffee on it? Then chocolate mocha brownies are just what the doctor ordered.
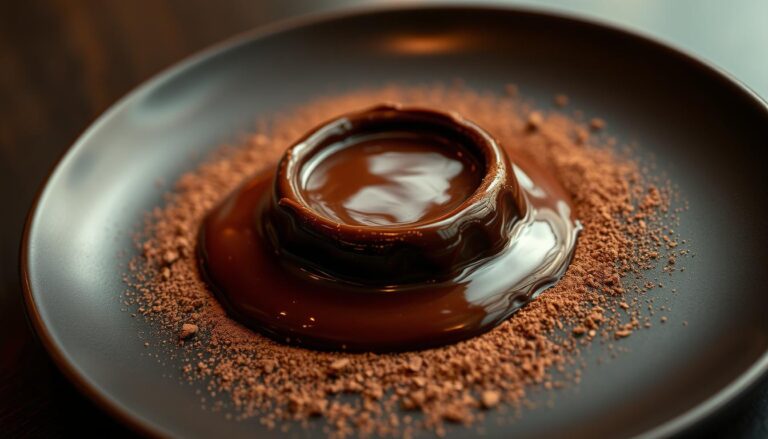
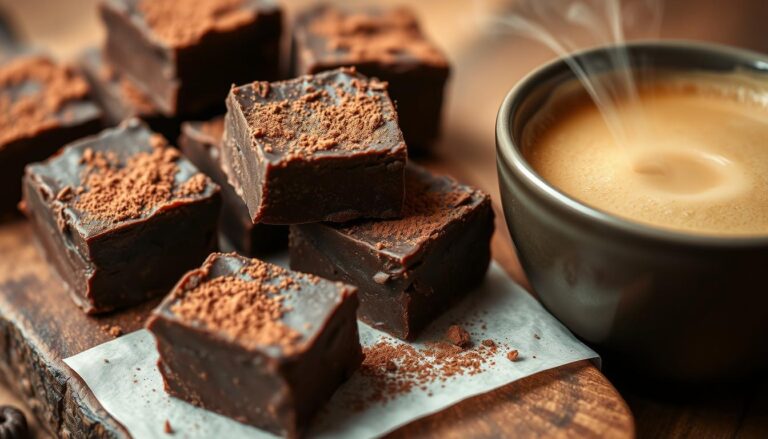
Imagine sinking your teeth into a dessert that blends velvety cocoa with a whisper of coffee warmth.
These decadent squares deliver a fudgy, melt-in-your-mouth experience—no frosting required.
Every bite balances rich flavors and a dense texture that’ll leave you reaching for seconds.
What makes this recipe stand out?
Premium ingredients.
Dutch-processed cocoa and real espresso powder create depth, while unsalted butter ensures a luxurious mouthfeel.
Inspired by trusted sources like Mess in the Kitchen, we’ve perfected the method for foolproof results.
Whether you’re a coffee enthusiast or simply crave something indulgent, this treat hits all the right notes.
Let’s dive right in.
Introduction to Chocolate Mocha Brownies
Ever wondered how a simple square can deliver such an intense flavor experience?
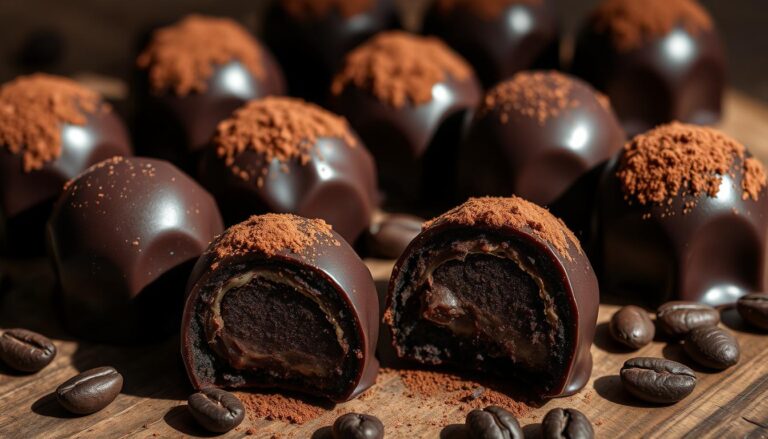
These treats combine two powerhouse ingredients: deep-roasted coffee and velvety cocoa.
The result? A dessert that’s become a favorite in home kitchens and bakeries alike.
What Makes Chocolate Mocha Brownies Irresistible
It’s all about balance.
The earthy bitterness of coffee amplifies the sweetness of cocoa without overpowering it.
Each bite offers a fudgy, dense texture that holds its shape but melts smoothly on your tongue.
Quality matters here.
Espresso powder packs a concentrated punch, while instant coffee granules add subtle undertones.
Combined with real butter and vanilla, these elements create layers of flavor that store-bought mixes can’t match.
| Ingredient | Role | Pro Tip |
|---|---|---|
| Espresso Powder | Enhances chocolate depth | Use 1 teaspoon for boldness |
| Instant Coffee | Adds aromatic notes | Dissolve in warm water first |
| Dutch-Process Cocoa | Rich color & flavor | Don’t substitute natural cocoa |
Trusted bakers like those at Bake from Scratch magazine swear by this combo.
Viewer comments often mention the “restaurant-quality” taste achieved in under an hour.
Ready to try it yourself? Up next: a detailed guide to selecting ingredients and mastering the technique.
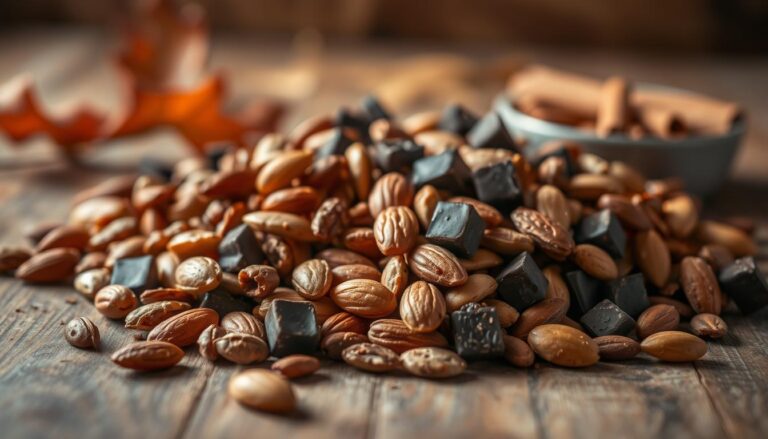
Gathering the Perfect Ingredients
The secret to unforgettable desserts lies in the ingredients you choose.
Selecting premium components ensures your treats have the right balance of flavor and texture.
Let’s break down what you’ll need and why each item matters.
Ingredients (Makes 16 chocolate mocha brownies)
- 1/2 cup (115g) unsalted butter
- 1 cup (175g) semisweet or dark chocolate chips
- 3/4 cup (150g) granulated sugar
- 1/4 cup (50g) light brown sugar
- 2 large eggs
- 1 teaspoon vanilla extract
- 1 tablespoon instant espresso powder (or very strong instant coffee)
- 1/4 teaspoon salt
- 1/2 cup (65g) all-purpose flour
- 1/4 cup (25g) unsweetened cocoa powder (Dutch-processed preferred)
- Optional: extra chocolate chips or chunks to fold in or sprinkle on top

Notes about the Ingredients.
Choosing Quality Cocoa, Butter, and Flour
Dutch-processed cocoa is non-negotiable for depth of flavor.
Its alkalized treatment gives richer color compared to natural varieties.
Pair it with unsalted butter—this lets you control the saltiness precisely.
All-purpose flour forms the base, but how you measure it matters.
Spoon it into your cup instead of scooping to avoid dense results.
For sweetness, blend granulated and confectioners’ sugar.
The first adds chew, while the second keeps things tender.
| Ingredient | Role | Pro Tip |
|---|---|---|
| Dutch-processed cocoa | Deep flavor & dark color | Don’t substitute with natural |
| Unsalted butter | Rich texture, no excess salt | Melt until bubbly for nutty aroma |
| All-purpose flour | Perfect structure | Aerate before measuring |
| Granulated sugar | Chewy foundation | Mix with confectioners’ for tender crumb |
| Espresso powder | Bold coffee essence | Substitute with 1 tbsp instant coffee |
The Power of Espresso Powder and Coffee
Don’t skip the espresso powder—it’s the magic behind the mocha kick. Just a teaspoon intensifies the cocoa without overpowering.
No espresso? Instant coffee works too! Just dissolve a tablespoon in hot water before mixing it in.
Fold in chocolate chips for gooey surprises in every bite.
Use dark varieties (60% or higher) to balance sweetness.
Remember: precise measurements matter so level off teaspoons of salt and powders to keep flavors harmonious.
Gathering these elements might take a minute, but it’s worth the effort.
Your future self will thank you when that first heavenly bite melts on your tongue.
How to Make Chocolate Mocha Brownies: A Step-by-Step Guide
Ready to transform simple ingredients into rich, fudgy squares?
This recipe balances precision with flexibility—perfect for both new bakers and seasoned pros.
Let’s get into the necessary steps to ensure your treats turn out decadent every time:
Instructions
Preheat & Prepare
Preheat your oven to 350°F (175°C). Line an 8×8-inch baking pan with parchment paper or grease it lightly.
Melt the Butter & Chocolate
In a medium saucepan over low heat, melt the butter and chocolate chips together, stirring until smooth. Remove from heat and let cool slightly.
Add Sugars, Espresso & Eggs
Whisk in the granulated sugar, brown sugar, and espresso powder. Then add the eggs and vanilla extract, mixing until glossy and fully combined.
Stir in Dry Ingredients
Sift in the flour, cocoa powder, and salt. Gently fold until no dry streaks remain. If using extra chocolate chips, fold them in now.
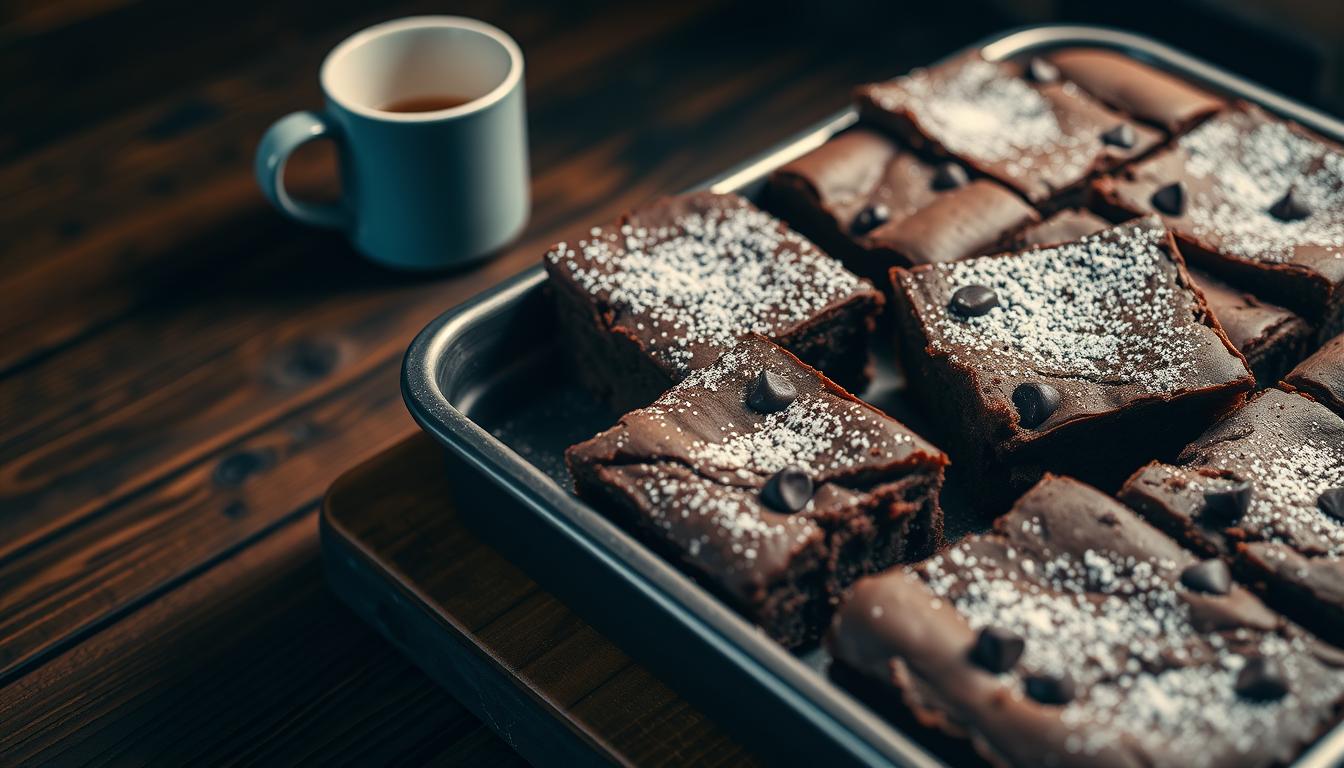
Bake your chocolate mocha brownies
Pour the batter into the prepared pan and smooth the top.
Bake for 25–30 minutes, or until the center is just set and a toothpick inserted comes out with moist crumbs (not wet batter).
Cool & Serve
Let the brownies cool in the pan for at least 20 minutes before lifting them out to slice. For fudgier brownies, chill them for an hour before cutting.
Additional Tips:
- Espresso powder enhances chocolate flavor even if you don’t want a strong coffee taste—don’t skip it!
- Want an even deeper mocha experience? Add 1/4 tsp coffee liqueur like Kahlúa to the batter.
- These freeze beautifully for up to 2 months.

Notes on the Step-by-Step Process
Incorporating Chocolate Chunks and Other Essentials
Gently stir in ½ cup of chocolate chips or chopped chunks.
For extra texture, add ¼ cup of instant coffee granules.
Pro tip: For gooier squares, underbake by 2-3 minutes. The residual heat will finish the job as they cool.
Baking and Finishing Techniques
How do you achieve that perfect balance between fudgy centers and crisp edges?
It starts with precise oven management and smart cooling methods.
Let’s explore how timing and temperature work together to create texture magic.

Oven Settings and Timing for Optimal Texture
Always preheat your oven to 350°F—this ensures even heat distribution from the first minute.
Use parchment paper to line your pan, preventing sticking without greasy residue.
Bake for 25-28 minutes for gooey centers or 30-32 minutes for cake-like results.
| Baking Time | Texture | Visual Cues |
|---|---|---|
| 25-28 minutes | Fudgy | Shiny, crackly top |
| 29-30 minutes | Chewy | Edges pull from pan |
| 31-32 minutes | Cakey | Matte surface |
Testing for Doneness and Cooling Strategies
Insert a toothpick near the center—a few moist crumbs mean they’re done. Avoid testing chocolate chunks, as melted bits can trick you.
Let treats cool in the pan for 15 minutes before transferring to a rack. This prevents crumbling while locking in moisture.
Store leftovers in an airtight container at room temperature for 3 days or freeze for 2 months.
Each serving contains roughly 220 calories, with rich flavors from espresso powder balancing sweetness.
Remember: patience during cooling ensures clean slices and that signature dense crumb!
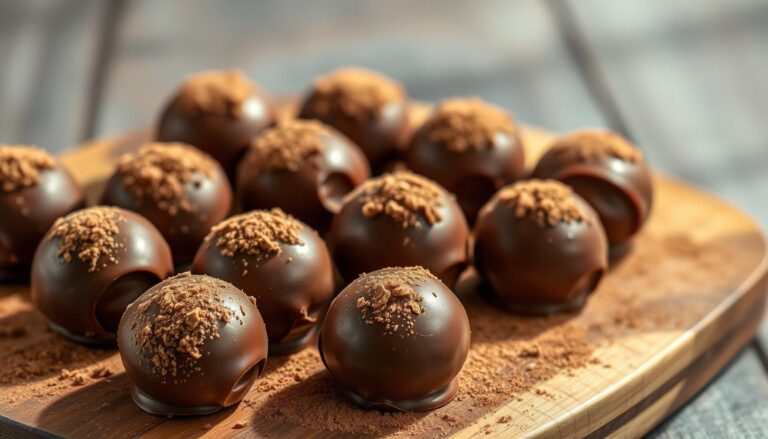
Ready to taste your chocolate mocha brownies?
As it’s the case with most treats mixing coffee and chocolate, mastering these decadent squares comes down to precision and passion.
Quality ingredients like espresso powder and real vanilla extract lay the foundation, while careful mixing ensures that fudgy texture you crave.
Make sure to not rush the baking process.
Use a toothpick to test and then allow for proper cooling time to ensure perfect balance between gooey centers and crisp edges.
Fold in chocolate chips gently so they create pockets of melty goodness in every bite.
Small tweaks make a big difference. Add an extra teaspoon of instant coffee for bolder notes or swap dark chocolate chips for milk varieties.
Whether you’re craving a midday treat or impressing guests, this recipe delivers crowd-pleasing results every time.
Now go enjoy that rich fusion of flavors—you’ve earned it.
Want another delightful recipe for a treat mixing chocolate and coffee?
Then take a look at my recipe to make delightful White Chocolate Mocha Cheesecake Bars.
FAQ
Can I substitute instant coffee for espresso powder?
Yes! Instant coffee works well, but use double the amount to match the intensity. Dissolve it in warm water first to avoid graininess in your batter.
What’s the best way to prevent overbaking?
Set a timer for 25 minutes at 350°F. Check with a toothpick—if it has a few moist crumbs (not wet batter), they’re done. They’ll firm up as they cool.
Can I use oil instead of butter for a lighter texture?
Butter adds richness, but neutral oils like avocado or coconut work. Expect a slightly chewier result compared to the fudgy original version.
How do I make these dairy-free?
Swap butter for plant-based alternatives like Miyoko’s or Earth Balance. Use dairy-free chocolate chunks, and ensure your cocoa powder is vegan-friendly.
Why add salt to sweet recipes?
A pinch enhances flavors, balancing the sweetness and deepening the coffee and cocoa notes. Don’t skip it—even a ¼ teaspoon makes a difference!
Can I freeze leftovers?
Absolutely! Slice them, wrap tightly in parchment, and store in an airtight container for up to 3 months. Thaw at room temperature before serving.
Do I need a mixer for the batter?
Nope—just a whisk and spatula. Overmixing can make them cakey, so fold ingredients gently until combined for that dense, fudgy texture.