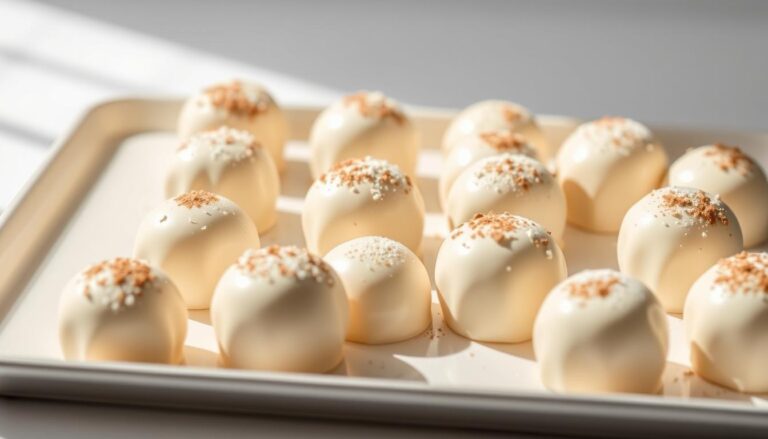
Homemade Tootsie Rolls (Only 5 Ingredients!)
Can you really make authentic homemade Tootsie Rolls with just a few simple ingredients? The short answer is yes!
In this article, we’ll show you how to make these classic treats from scratch, without any complicated equipment or ingredients.
You only need 5 things to create deliciously chewy and chocolatey treats that are perfect for snacking, gift-giving, or sharing with friends and family.
Let’s dive right in!
Key Takeaways
- Requires just 5 common ingredients you likely own
- Softer texture than commercial candy, with rich chocolate flavor
- Great activity for kids to shape their own creations
- Makes 75+ pieces for parties or lasting treats
- Free from artificial additives found in store brands
- Customizable sweetness and cocoa intensity
Copycat Tootsie Rolls from Home
Here’s a simple recipe to make chewy, chocolatey treats that taste remarkably close to the real thing.
Yields About 40 bite-size pieces.
Ingredients:
- 1 cup semi-sweet chocolate chips (170g)
- ½ cup light corn syrup (160g)
- 3 tablespoons unsalted butter, softened (42g)
- ¾ cup powdered milk (60g)
- 1 cup powdered sugar (120g), plus extra for dusting
Instructions:
- Melt the chocolate:
In a heatproof bowl, melt the chocolate chips over a double boiler (or microwave in 20-second bursts, stirring each time) until smooth. Let cool slightly. - Mix wet ingredients:
Add the corn syrup and softened butter to the melted chocolate. Stir until fully combined and glossy. - Add dry ingredients:
Stir in the powdered milk and then gradually add the powdered sugar until a thick, dough-like consistency forms. You may not need the full amount of sugar. Stop when the mixture is pliable but not sticky. - Knead:
Lightly dust a clean surface with powdered sugar. Turn the dough out and knead it for 1–2 minutes until smooth. - Shape and cool:
Roll into ropes about ½ inch thick, then cut into bite-sized pieces (~1 inch each). Place pieces on parchment paper to firm up at room temperature for at least 4 hours, or refrigerate for 30–60 minutes. - Store:
Wrap individual pieces in wax paper or store in an airtight container. Keeps well at room temperature for 2 weeks.

Introduction & Background
Ever wonder what’s really in your favorite chocolate candies?
Crafting sweets at home lets you swap mystery additives for wholesome pantry staples.
You’ll transform basic items like cocoa powder and honey into nostalgic confections everyone can enjoy.
Why Make Your Own Candy?
Store-bought versions often hide corn syrup and artificial flavors. When you mix the dough yourself, you pick every component.
Swap dairy milk for coconut oil or use gluten-free flours to accommodate allergies.
Kids love rolling the pliable mixture into fun shapes while learning kitchen basics.
What Makes These Treats Special?
The iconic chewiness comes from a simple blend of melted chocolate and binding agents.
Unlike mass-produced options, your batch can feature bolder cocoa notes or citrus zest.
Families have cherished this recipe’s adaptability since its invention over a century ago.
Plus, baking together creates sweeter memories than any store wrapper.
A handcrafted familiar chocolate
Who knew that creating classic chewy candies could be so rewarding?
This handcrafted version delivers that familiar chocolatey chew using simple techniques anyone can master.
Store your creations in an airtight container for up to two weeks. They’ll stay fresh whether you prefer them chilled or softened at room temperature.
With over 40 pieces per batch, you’ll have plenty to share. Friends might even swear they’re better than store-bought!
Swap ingredients like coconut oil for dairy or add a splash of vanilla to make the recipe your own.
Kids love helping shape these sweets, and you’ll appreciate knowing exactly what’s in every bite.
Whether tucked into lunchboxes or served at parties, these treats spark joy without complicated steps. Ready to taste the difference?
Grab your favorite mixing bowl and let the candy-making magic begin. Once you try this method, you might never reach for factory-wrapped versions again!
Would you like to try another easy, no-bake recipe your children will love? Head over to our recipe for chocolate rice krispies balls.
FAQ
Can I substitute corn syrup with another ingredient?
Yes! Honey or maple syrup work as alternatives, though the texture might differ slightly. Avoid liquid sweeteners like agave, as they can make the dough too sticky.
How long do these stay fresh?
Store them in an airtight container at room temperature for up to two weeks. For longer storage, wrap tightly and freeze for up to three months.
Why is my mixture too sticky to handle?
If the dough feels sticky, add a teaspoon of powdered sugar at a time while kneading until it becomes pliable. Humidity or ingredient ratios can affect consistency.
Can I use different flavors besides chocolate?
Absolutely! Swap cocoa powder for freeze-dried fruit powder or add extracts like orange or peppermint. For a tropical twist, mix in a tablespoon of coconut oil.
Is this recipe kid-friendly?
Yes! Children love shaping the dough into ropes or fun shapes. Supervise them during stovetop steps, then let them take over rolling and cutting.
How do I prevent the candy from hardening too much?
Avoid over-kneading, which can make the texture dense. Chill just until firm, about 30 minutes, before slicing. If they harden, let them sit at room temperature briefly.


