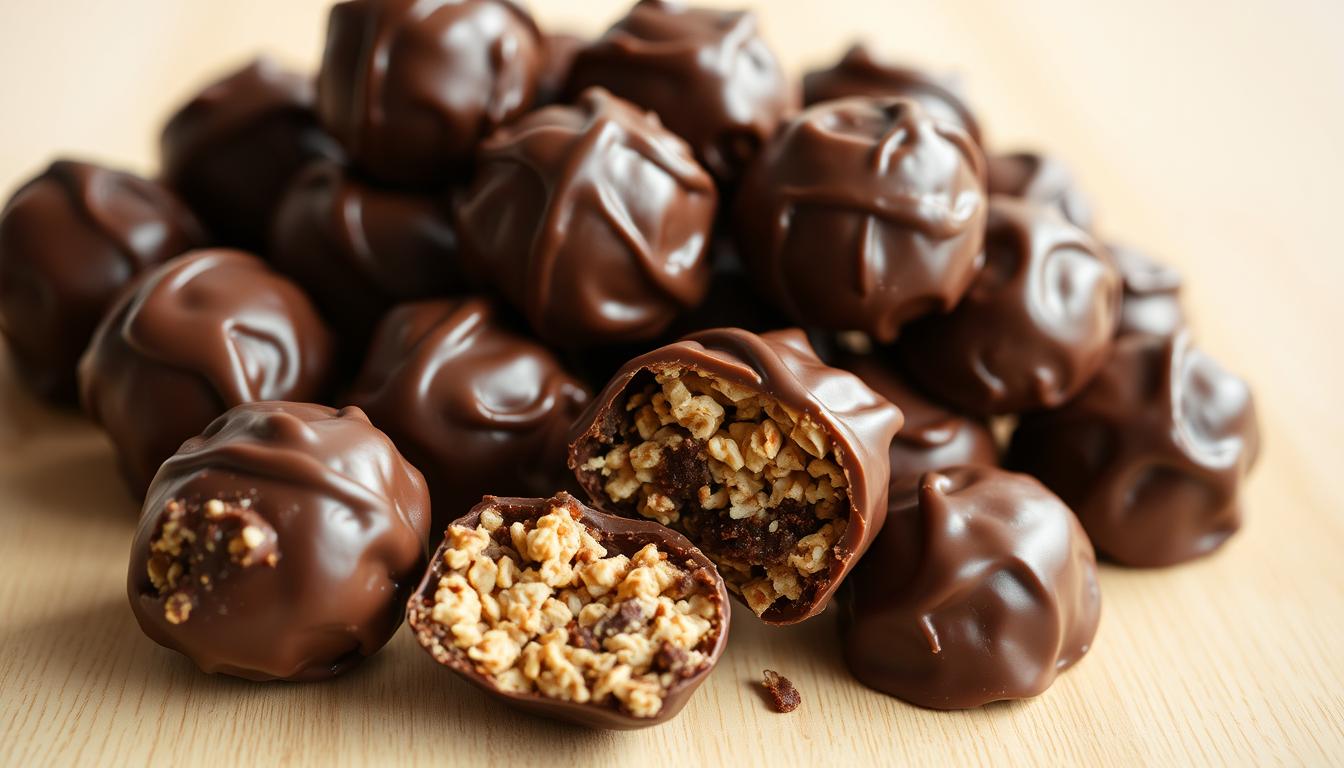
Chocolate Rice Krispies Balls (A No-Bake Classic)
What do you think of when you hear the words “chocolate rice krispies balls”? Happy, fun memories, am I right?
These bite-sized delights have earned their spot as a go-to dessert for busy families and party planners alike.
With their irresistible mix of textures, they’re perfect for satisfying cravings or impressing guests.
What makes this recipe stand out?
It transforms everyday ingredients into something special.
The smooth peanut butter base gets a fun crunch from puffed rice, while the outer layer adds a luxurious finish.
Whether you’re packing holiday gift boxes or need a last-minute party snack, these little gems deliver both flavor and convenience.
Best of all, anyone can make them since no baking skills are required.
Just mix, shape, and chill.
Ready to get started?
Let’s go!
Key Takeaways
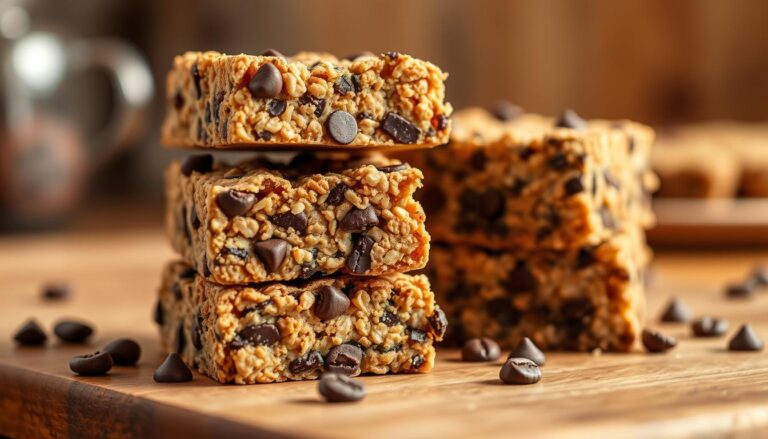
- Combines creamy peanut butter with crispy cereal for balanced textures.
- Uses simple pantry staples to create crowd-pleasing desserts.
- Perfect for gift-giving, parties, or quick sweet cravings.
- Requires no baking—ideal for beginners or time-crunched cooks.
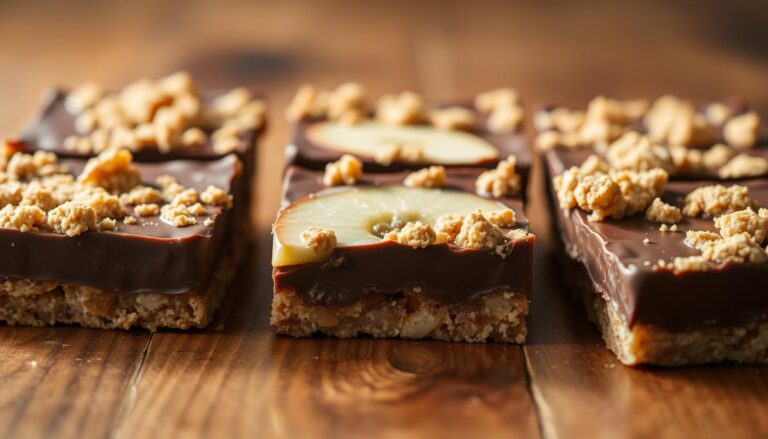
- Adds visual appeal to dessert tables with glossy coating.
- Easy to customize with different toppings or coatings.
No-Bake Chocolate Rice Krispies Balls Recipe
This is a fun, no-bake Chocolate Rice Krispies Balls recipe that’s rich, chewy, and packed with crunchy texture.
It’s perfect for kids and adults alike.
Yields: About 20 balls.
✅ Ingredients:
- 1 ½ cups semi-sweet chocolate chips (270 g)
- ½ cup creamy peanut butter (120 g)
- 3 tablespoons unsalted butter (43 g)
- 3 cups Rice Krispies cereal (75 g)
- 1 teaspoon pure vanilla extract (5 mL)
- (Optional for coating):
- ½ cup powdered sugar (60 g)
- or ¼ cup sprinkles (40 g)
- or ¼ cup shredded coconut (20 g)
👩🍳 Instructions:
- Melt chocolate mixture
In a medium saucepan over low heat, add the chocolate chips, peanut butter, and butter. Stir constantly until fully melted and smooth (about 3–4 minutes). Remove from heat. - Add vanilla
Stir in the vanilla extract and mix well. - Fold in cereal
Add Rice Krispies cereal into the warm chocolate mixture. Use a spatula to gently fold until all cereal is evenly coated. - Chill slightly
Let the mixture cool for 10–15 minutes at room temperature until it’s cool enough to handle but still pliable. - Shape into balls
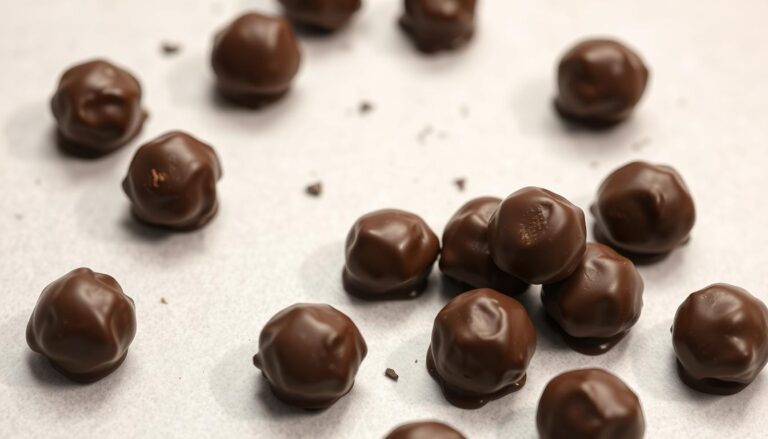
Scoop out heaping tablespoons and roll into 1.5-inch balls using your hands. - Optional coating
Roll each ball in powdered sugar, sprinkles, or shredded coconut if desired. - Chill to set
Place the finished balls on a baking sheet lined with parchment paper. Chill in the refrigerator for 30 minutes or until firm.
Storage Tips:
- Store in an airtight container in the fridge for up to 1 week.
- For longer storage, freeze for up to 2 months. Let sit at room temperature for 10 minutes before serving.

Essential Equipment
Creating these no-bake delights starts with gathering the right components.
Quality matters here since better ingredients mean tastier results.
Let’s break down what you’ll need to craft treats that’ll have everyone asking for seconds.
Key Components: Peanut Butter, Cereal, and Chocolate
Natural peanut butter works best because its creamy texture binds everything without excess oil.
Brands like Justin’s Honey Peanut add subtle sweetness, but any smooth variety will do.
For the crunch factor, 3 cups of puffed rice cereal creates that iconic snap. If you’re out of name-brand options, generic crispy rice works just as well.
Choose chocolate chips wisely. Semi-sweet balances sweetness, while milk chocolate amps up indulgence.
A dash of coconut oil keeps the coating glossy and easy to dip. Don’t skip the powdered sugar as it prevents stickiness when shaping your mixture.
By the way, if peanut butter is your jam, make sure to check out our recipe for homemade Snickers-like bars.
Must-Have Kitchen Tools and Parchment Tips
An electric mixer blends peanut butter and butter into a velvety base.
Use a cookie scoop for evenly sized portions. They’ll chill faster and look professional. Line your baking sheet with parchment paper to avoid messy cleanups.
Keep these tools handy:
- Microwave-safe bowl for melting chocolate
- Measuring cups to nail ingredient ratios
- Sturdy spatula for scraping every last bit
Pro tip: Chill your shaped bites on parchment before dipping. They’ll hold their shape better when coated!
Chilling and Forming the Balls
Mastering the chill phase transforms sticky mixtures into perfect spheres ready for dipping.
This step ensures your chocolate rice krispies balls hold their shape during coating while maintaining that signature crunch.
Let’s explore how to nail this crucial stage.
Freezer vs. Fridge: Finding the Best Chill Time
Speed matters when you’re prepping treats. The freezer firms butter balls in 15 minutes, making it ideal for last-minute projects.
For slower-setting options, the fridge takes about an hour but prevents over-hardening.
Need a middle ground? Try 25 minutes in the freezer followed by 10 in the fridge.
Watch the clock closely. Under-chilled spheres crumble during dipping, while frozen ones develop hairline cracks.
Test readiness by gently pressing one—it should dent slightly without losing shape.
Tips for Rolling Consistent, Bite-Sized Balls
Grab a cookie scoop for uniform portions every time. Level each scoop against the bowl’s edge before rolling.
Dampen your palms lightly to prevent sticking—dry hands tug at the mixture, creating rough surfaces.
Work swiftly to avoid softening the dough. If it gets too warm, pop the tray back in the freezer for 5 minutes.
Aim for 1-2 tablespoon sizes—large enough to showcase textures but small enough for single bites.
Pro tip: Rotate each sphere between your palms 3-4 times. This smooths edges and compacts the center just enough to withstand chocolate baths!
Coating with Melted Chocolate
Transform your chilled peanut butter centers into glossy masterpieces with these pro techniques.
The right approach to melting and dipping ensures each piece looks store-bought while keeping that homemade charm.
Melting Chocolate and Coconut Oil to Perfection
Combine 12 oz of chocolate chips with 1 tablespoon of coconut oil in a microwave-safe bowl.
Heat in 30-second bursts, stirring thoroughly after each interval.
This prevents scorching and creates silky-smooth melted chocolate ready for dipping.
- Microwave method: Faster but requires careful monitoring
- Double-boiler: Better temperature control for larger batches
- Ideal texture: Flows like warm honey off a spoon
Dipping Techniques for Even Coverage
Use a fork to lower chilled centers into the melted mixture. Gently roll them until fully coated, then lift while tapping the fork against the bowl’s edge.
This removes excess coating for a thin, crack-resistant shell.
| Common Issue | Quick Fix | Prevention Tip |
|---|---|---|
| Lumpy texture | Add ½ tsp coconut oil | Stir constantly while melting |
| Thick coating | Reheat in 10-second bursts | Maintain 90°F temperature |
| Uneven drips | Rotate while lifting | Use parchment-lined tray |
Let treats set at room temperature for 30 minutes. The coconut oil helps the shell harden with a satisfying snap while sealing in freshness.

Enhancing Flavor and Presentation
Elevate your dessert game with creative toppings and mix-ins that transform simple bites into showstoppers.
A few strategic additions can turn basic treats into conversation starters, whether you’re hosting a party or surprising coworkers.
Let’s explore how to maximize visual appeal while boosting taste complexity.
Adding Festive Touches: Sprinkles and Sea Salt
Timing is everything when decorating.
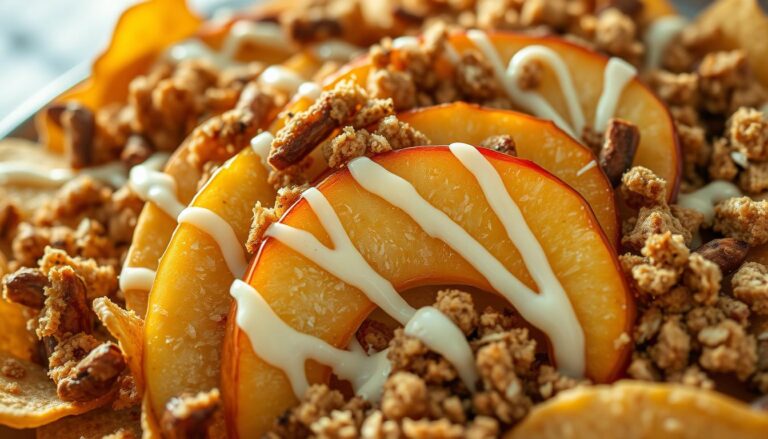
Apply colorful sprinkles or crushed nuts immediately after dipping, the coating sets fast. For holidays, match your toppings to the theme:
- Crushed candy canes + red sugar (Christmas)
- Pastel nonpareils + edible glitter (Easter)
- Gold dust + caramel drizzle (Anniversaries)
Flaky sea salt isn’t just pretty, it balances sweetness.
Sprinkle sparingly over dark chocolate coatings for gourmet flair.
Pair with roasted almonds in the peanut mixture for extra crunch.
Optional Mix-Ins for a Unique Twist
Upgrade your base recipe with texture-boosting ingredients. Fold these into the peanut butter mixture before shaping:
| Addition | Flavor Impact | Best With |
|---|---|---|
| Toasted coconut | Tropical sweetness | White chocolate coating |
| Crushed pretzels | Salty crunch | Milk chocolate shell |
| Freeze-dried berries | Tangy contrast | Dark chocolate dip |
Drizzling melted white chocolate over cooled treats adds bakery-worthy stripes. Let kids customize their own with mini M&Ms or rainbow jimmies for family-friendly fun.
Storage, Serving, and Shelf-Life Tips
Keep your chocolate rice krispies balls fresh and delicious with smart storage strategies.
Proper handling preserves their signature crunch while preventing melted coatings or stale textures.
Let’s explore how to maintain quality from kitchen counter to freezer.
Best Practices for Room Temperature and Refrigeration
For short-term storage, use an airtight container at room temperature. Layer treats between sheets of parchment paper to prevent sticking.
They’ll stay perfect for 3-4 days. Ideal for quick snacks or dessert trays.
Chill leftovers in the fridge for up to a week. Let them sit out 15 minutes before serving. This brings back the creamy texture.
Avoid stacking directly from cold storage, as condensation can soften coatings.
| Storage Method | Duration | Pro Tips |
|---|---|---|
| Countertop | 3-4 days | Use breathable container |
| Refrigerator | 7 days | Wrap clusters in wax paper |
| Freezer | 3 months | Double-wrap in foil |
Packaging for Longer Enjoyment
Freeze individual pieces wrapped in parchment paper, then seal in freezer bags.
Thaw at room temperature for 30 minutes when cravings strike.
For gifting, choose glass containers with tight lids as they showcase your creations while blocking humidity.
Time-sensitive tip: Enjoy within 48 hours for peak crispness. The cereal stays snappiest when protected from moisture.
Label frozen batches with dates to track freshness effortlessly.
Big Flavor in No-Bake Dessert
You’ve just unlocked a no-bake dessert that delivers big flavor with minimal effort.
These bite-sized creations prove that great treats don’t need complex techniques, just smart combinations of textures and tastes.
Perfect for last-minute gatherings or midday cravings, they’re your new secret weapon for sweet success.
What makes these snacks stand out? Their versatility.
Swap coatings, mix in new ingredients, or adjust sweetness levels to match any occasion.
They transform basic pantry staples into edible gifts or party favorites that disappear fast from dessert trays.
Remember, the best part is how they adapt to your schedule.
Mix a batch during naptime, shape them while dinner cooks, or freeze extras for future surprises.
Once you master the base recipe, you’ll find endless ways to make it uniquely yours.
Ready to impress? Grab your ingredients and start rolling. Your next crowd-pleasing treat is just 20 minutes away!
Want more recipes for sweets you can make for your kids? Take a look at our homemade Tootsie Rolls recipe.
FAQ
Can I use a different nut butter instead of peanut butter?
Absolutely! Almond butter or sunflower seed butter work well for allergies or flavor preferences. Just ensure it’s creamy for easy mixing.
How long should I chill the mixture before rolling?
Freeze it for 15–20 minutes to firm up quickly. If using the fridge, let it sit for 30–45 minutes until it’s moldable but not sticky.
What’s the trick to melting chocolate smoothly?
Use a double boiler or microwave in 20-second bursts, stirring between intervals. Adding a teaspoon of coconut oil prevents clumping.
Can I store these at room temperature?
Keep them refrigerated in an airtight container for up to a week. They hold shape better and stay fresh longer when chilled.
How do I prevent the cereal from getting soggy?
Fold in the crispy cereal gently and coat it evenly with the butter-sugar mixture. Avoid overmixing to maintain that satisfying crunch.
Are there gluten-free options for this recipe?
Yes! Swap regular cereal for a gluten-free puffed rice brand. Double-check labels on other ingredients to ensure they meet dietary needs.
Can I add toppings after dipping?
Definitely! Sprinkle sea salt, crushed nuts, or colorful sprinkles onto the melted coating before it sets for a festive finish.
How far in advance can I make these for parties?
Prepare them 2–3 days ahead and store in the fridge. For longer storage, freeze in layers separated by parchment paper for up to a month.