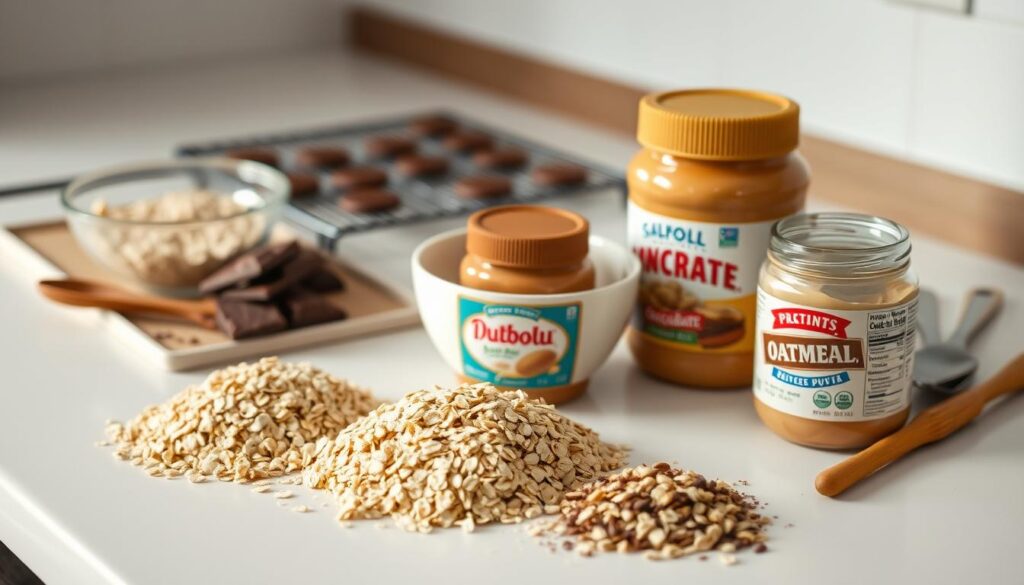
Chocolate Oatmeal Cookies (3 Ingredients, No Bake)
Hear me out, how about delicious chocolate oatmeal cookies that just require 3 ingredients and no baking? I sure have your attention now, right?
This fuss-free recipe skips complicated steps and hard-to-find ingredients, delivering classic flavors in record time.
Whether you’re a busy parent or a student with limited kitchen tools, you’ll love how effortless these bites are to make.
Traditional versions often require butter, sugar, and flour, but our simplified method uses just three pantry staples.
The magic happens in minutes, mix, shape, and let them set.
You’ll get that familiar chewy texture and rich taste, minus the cleanup or baking mishaps. Plus, they’re ideal for spontaneous cravings or surprise visitors.
No-bake desserts have surged in popularity for good reason. They’re reliable, fast, and perfect for beginners.
These little delights blend indulgence with the hearty goodness of oats, creating a snack that’s both satisfying and convenient.
Keep reading to unlock the secrets behind this modern kitchen hack.
Key Takeaways
- Create crowd-pleasing treats with only three basic ingredients.
- Skip the oven entirely for a mess-free dessert solution.
- Ready to enjoy in under 10 minutes—ideal for last-minute plans.
- Balances rich flavor with wholesome, energy-boosting oats.
- Stays fresh for weeks when stored properly.
- Perfect for kitchens without baking equipment or advanced skills.
No-Bake Chocolate Oatmeal Cookies ready in 10 minutes.
This delicious chocolate oatmeal cookies recipe only uses 3 simple ingredients, it does not require baking and the cookies are ready in 10 minutes.
Yields: about 18 small cookies.
Ingredients
- 2 cups (200 g) rolled oats (not instant)
- 1 cup (170 g) semisweet chocolate chips (60–70% cocoa recommended)
- ½ cup (113 g) unsalted butter, cut into pieces
Instructions
- Prepare a Tray
Line a baking sheet with parchment or wax paper. Set aside. - Melt Chocolate & Butter
In a medium saucepan over low heat, combine the semisweet chocolate chips and butter. Stir constantly until fully melted and smooth (about 3–5 minutes).
Tip: Avoid overheating—this can cause the chocolate to seize. - Mix in the Oats
Remove the pan from heat. Stir in the rolled oats until they’re fully coated in the chocolate mixture. - Scoop and Shape
Drop spoonfuls (about 1 tablespoon each) of the mixture onto the prepared tray. Shape into cookie rounds using the back of the spoon. - Chill to Set
Place the tray in the refrigerator for at least 30 minutes or until cookies are firm to the touch. - Serve & Store
Enjoy straight from the fridge or at room temperature. Store in an airtight container in the refrigerator for up to 1 week.

Discover the Simplicity of No-Bake Treats
Need a quick fix for unexpected guests or sudden cravings? These fuss-free bites ditch traditional baking methods while keeping all the taste.
No oven means no temperature tweaking or timer-watching. Just mix, shape, and let nature do the rest.
Why You’ll Love This Quick Recipe
Say goodbye to burnt edges or undercooked centers. The method guarantees perfect texture every time.
Even better? Your kitchen stays cool during summer heatwaves.
Kids can safely join in the fun since there are no hot surfaces or complex steps. Just sticky fingers and big smiles as they mold their creations.
Perfect Snack for Any Occasion
Pack them for hiking trips or midday office breaks. Their sturdy texture survives backpacks and lunchboxes without crumbling.
Morning rush? Grab one with your coffee for a tasty energy boost.
The rich cocoa flavor pairs perfectly with chewy oats. You get indulgence and nutrition in one portable package.
Last-minute potluck? Whip up a batch faster than you can preheat an oven.
By the way if you need more 3-ingredient treats you can whip up fast, then check out our peanut butter chocolate balls recipe.
Kitchen Tools
Great recipes begin with smart choices. Let’s break down how to set yourself up for success.
Recommended Equipment for Easy Mixing
A large bowl is non-negotiable. You’ll need space to fold thick dough without spills. Stand mixers handle the heavy lifting effortlessly, but a sturdy spoon works too, just expect an arm workout!
Cookie scoops ensure uniform sizes for even setting.
No fancy tools? Two spoons will shape portions quickly. Store extras in airtight containers to maintain freshness.

Mastering Chocolate Oatmeal Cookies
Transform ordinary pantry items into extraordinary treats with smart ingredient choices.
The right combinations elevate texture and flavor while keeping prep time under 10 minutes.
Choosing the Right Oats and Chocolate
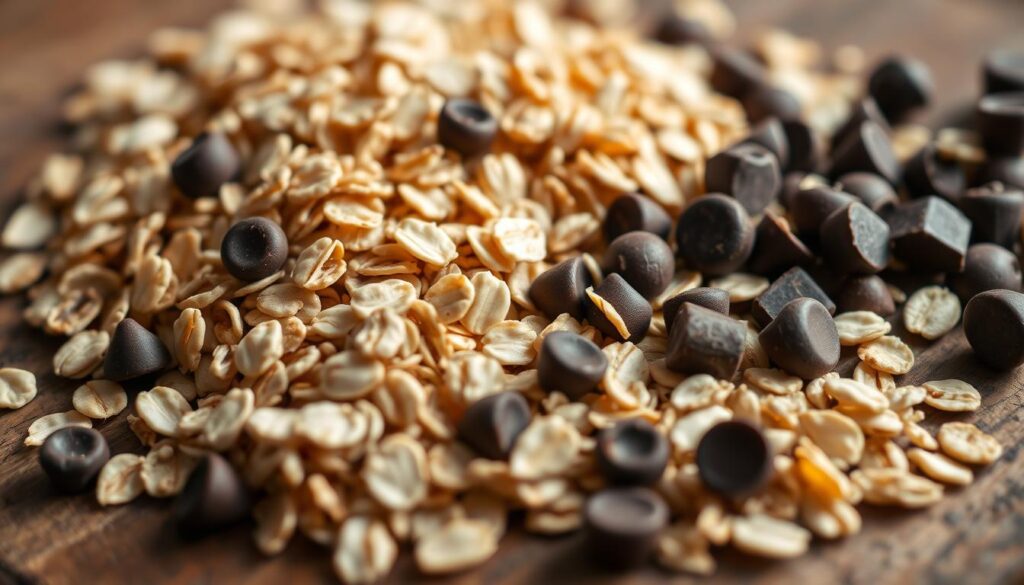
Rolled oats are your secret weapon. Their thick flakes create a chewy bite and pack more protein than quick oats. Avoid instant varieties since they turn soggy fast.
Semisweet chips deliver balanced sweetness.
Want deeper flavor? Swap in bittersweet chunks. Both melt smoothly for glossy results.
Check labels: higher cocoa percentages mean richer taste.
Substitutions and Optional Add-Ins
Pure vanilla extract beats artificial versions hands-down. Just ½ teaspoon brightens the cocoa flavor.
Adjust salt carefully, reduce by ¼ teaspoon if using salted butter.
Crunchy walnuts or pecans add exciting texture. Toast them first for nutty depth. Dried cherries or raisins work too.
Store extras in airtight jars to prevent stale oats or chalky chocolate blooms.
Quality matters. Fresh oats stay firm, while premium chips melt evenly. Your final bites will thank you.
Expert Tips, Tricks, and Variations
Take your dessert game to the next level with smart tweaks that enhance texture and taste.
These strategies help you avoid common pitfalls while adding personal flair to your creations.
Pro Tips from Top Baking Resources
Control your kitchen environment for best results. High humidity? Add an extra tablespoon of oats to absorb moisture.
Cool rooms slow setting time, place treats near a fan for faster firming.
Store leftovers in layered parchment paper. This prevents sticking while maintaining chewiness.
For longer freshness, freeze portions in silicone molds and thaw as needed.
| Issue | Solution | Tool |
|---|---|---|
| Sticky dough | Chill mixing bowl 10 minutes first | Refrigerator |
| Crumbly texture | Add 1 tsp milk or nut butter | Measuring spoons |
| Melting in heat | Use coconut oil instead of butter | Spatula |
Creative Serving Suggestions and Flavor Enhancers
Crush treats into yogurt parfaits or sprinkle over pancakes. For parties, dip half in melted white chocolate and roll in crushed peppermint.
Boost flavor with orange zest or espresso powder. Swap ¼ cup oats for toasted coconut flakes. Kids love rainbow sprinkles mixed into the dough before shaping.
Turn them into ice cream sandwiches using vanilla bean gelato. Freeze 30 minutes for mess-free handling.
Package in wax paper tied with baker’s twine for gift-ready presentation.
A Hassle-free treat that’s ready in a Flash
You’ve just unlocked the secret to making crowd-pleasing snacks without turning on your oven.
This method skips tedious steps like measuring flour or waiting for dough to rise, giving you more time to enjoy life’s sweet moments.
By swapping traditional baking ingredients for simple pantry staples, you create treats with the same rich flavor and chewy texture you love.
Forget about precise oven temperatures or cooling racks, your countertop does all the work here.
Mix in different chips or nuts to match your mood, or keep it classic for that timeless taste.
Store your creations in airtight containers for grab-and-go convenience, or share them fresh for instant smiles.
Whether you’re a busy parent or a first-time cook, this approach proves homemade goodness doesn’t require hours or fancy tools.
Just three ingredients, 10 minutes, and endless possibilities.
And if you love pecans and nuts, check out our best toffee recipe, to create an addictive, simple treat.
FAQ
Can I use different types of oats?
Quick oats are ideal for the right texture. Rolled oats may create a chewier result, while steel-cut varieties won’t soften properly. Stick to what’s recommended for best results.
How long do these treats take to set?
They typically firm up in 30 minutes at room temperature. For faster results, pop them in the fridge for 10–15 minutes.
Can I add extra ingredients for more flavor?
Absolutely! Stir in shredded coconut, chopped nuts, or a dash of cinnamon. Just keep add-ins small to maintain the dough’s consistency.
How should I store leftovers?
Keep them in an airtight container at room temperature for up to 5 days. For longer storage, freeze them between parchment layers for 2 months.
What if I don’t have dairy butter?
Swap it with coconut oil or vegan butter for a plant-based version. The ratio stays the same, so no adjustments are needed.
Why is my mixture too sticky or dry?
If it’s sticky, let it cool slightly before shaping. If dry, add a teaspoon of milk or extra melted butter. The dough should hold together when pressed.


