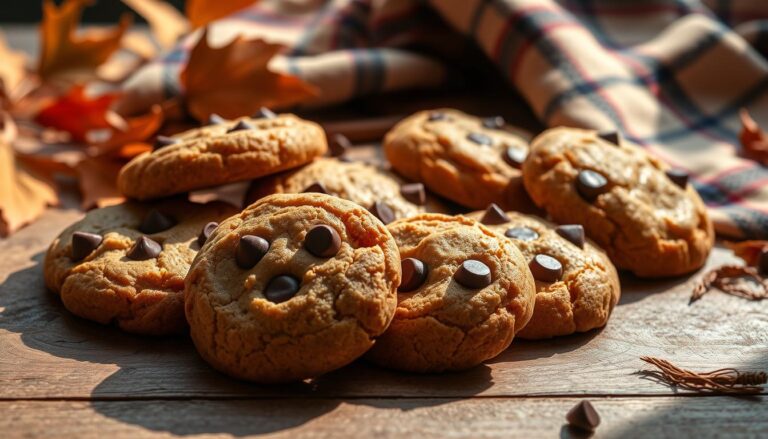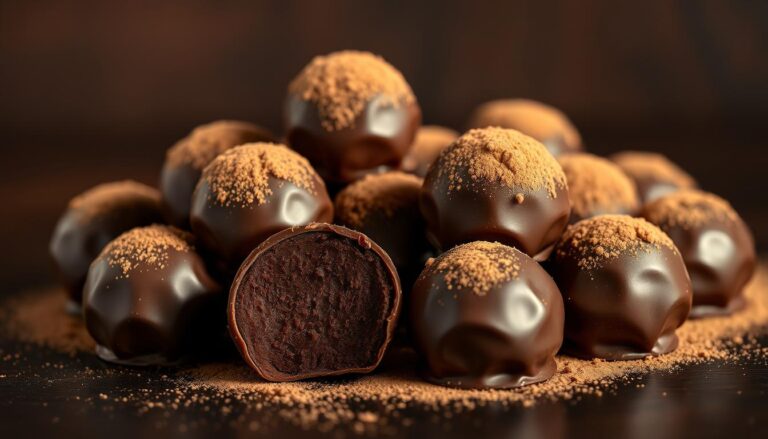
Best Chocolate Lava Cakes with a Molten Center
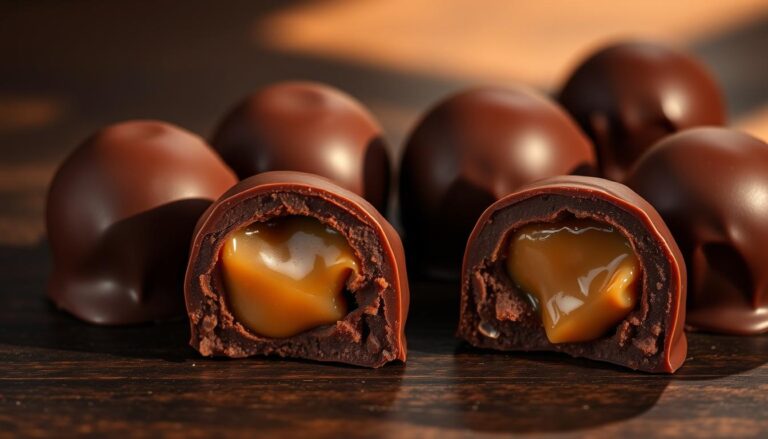
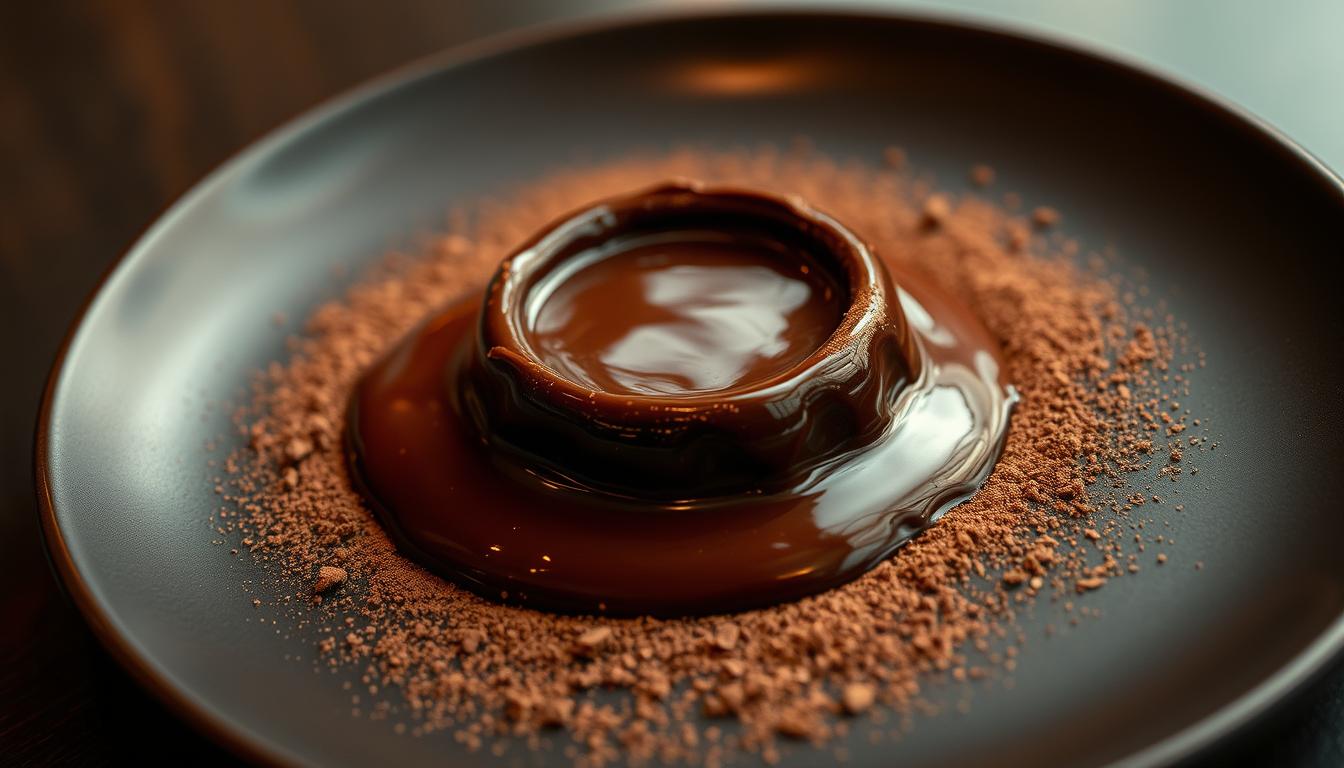
Imagine cutting into a warm, delicate dessert to reveal a silky river of rich flavor flowing from its core. That will be the chocolate lava cake you’ll learn to make.
What makes these desserts unforgettable?
The contrast between the tender outer layer and the luxurious melted interior. It’s pue magic.
Want more good news?
You don’t need advanced baking skills for this, just a love for decadent flavors and a desire to impress.
Let’s explore how to master this crowd-pleaser while tailoring it to your preferences.
Key Takeaways
- Create gourmet-quality results in under 30 minutes with basic ingredients.
- Customize with toppings like fresh fruit or ice cream for varied occasions.
- Perfect for romantic dates or entertaining due to its elegant presentation.
- Easily adaptable for different dietary needs without sacrificing flavor.
- Requires minimal prep time but delivers maximum visual impact.
Making Decadent Chocolate Lava Cake
Here’s a recipe to make the best chocolate lava cake with a molten center.
- Yields: 4 individual cakes
- Prep Time: 10 minutes
- Bake Time: 12 minutes
- Total Time: 25 minutes
Ingredients
- Semi-sweet chocolate bars (60–70% cacao): 115 g (4 oz), finely chopped.
- Unsalted butter: 85 g (6 tbsp), plus more for greasing.
- Confectioners’ sugar: 100 g (¾ cup).
- Large eggs: 2
- Egg yolks: 2
- All-purpose flour: 30 g (¼ cup)
- Salt: ⅛ tsp
Instructions
- Preheat & Prep:
Preheat oven to 220°C (425°F). Generously butter four 6-oz ramekins and lightly dust with cocoa powder. Set them on a baking sheet. - Melt Chocolate & Butter:
In a heatproof bowl over a pot of simmering water (double boiler method), melt the chopped chocolate and butter together, stirring until smooth. Remove from heat and let cool slightly (2–3 minutes). - Whisk Eggs & Sugar:
In a separate bowl, whisk together the eggs, yolks, and confectioners’ sugar until thick, pale, and frothy (about 2 minutes with a hand mixer). - Combine:
Gradually whisk the chocolate mixture into the egg mixture until smooth. - Add Dry Ingredients:
Sift in the flour and salt, then fold gently with a spatula until just combined. Do not overmix. - Fill Ramekins:
Divide the batter evenly between the prepared ramekins. - Bake:
Bake for 11–12 minutes, or until the edges are firm but the centers are still soft. The tops will look just set. - Serve Immediately:
Let cool for 1 minute, then run a knife around the edges, invert onto serving plates, and dust with extra confectioners’ sugar or serve with vanilla ice cream.
Pro Tips:
- Do not overbake or the centers will set completely and you’ll lose the “lava”.
- You can prepare the batter up to 1 day ahead and refrigerate. Bring to room temp before baking.

Introduction to Chocolate Lava Cakes
Few desserts capture the essence of indulgence like a warm, gooey-centered treat.
The magic happens when heat transforms simple ingredients into contrasting textures that delight every sense.
Let’s explore why this dessert remains a modern classic and how its structure creates such an unforgettable experience.
What Makes Them So Irresistible?
The secret lies in the battle between heat and timing.
A hot oven sets the exterior quickly while leaving the inside fluid. This creates a firm shell that cracks open to release a silky river of richness.
Bakers love how the process feels like edible chemistry. You’re not just mixing batter—you’re controlling physics to craft liquid gold.
Precision matters: 2 extra minutes could turn your masterpiece into ordinary baked goods.
The Allure of a Molten Core
Quality ingredients elevate the flavor profile. High-cocoa content melts smoothly, creating that signature velvety flow.
Unlike standard desserts, every bite offers two textures: cakey comfort and luxurious sauce.
Freshness amplifies the experience. Homemade versions beat restaurant ones because they’re served straight from the oven.
That immediacy makes celebrations feel personal, like you’re sharing edible warmth with loved ones.
- Temperature contrast creates structural drama
- Premium cocoa ensures intense flavor depth
- Timing determines success (10-12 minutes ideal)
- Serving immediately preserves texture magic
By the way, if you are into making sophisticated treats meant to impress, then take a look at our German Chocolate Cake recipe.
Essential Tools
Great molten-centered desserts start with precision.
The right components ensure that velvety flow everyone loves.
Let’s break down what you’ll need to nail both flavor and texture.
Must-Have Kitchen Tools and Ramekins
6-ounce ramekins are non-negotiable.
Their size ensures even heat distribution for that perfect lava flow.
No ramekins? Use muffin pans, but reduce baking time by 2 minutes.
A double boiler (or glass bowl over simmering water) melts ingredients gently.
Silicone spatulas scrape every bit of batter, and a sturdy whisk blends everything smoothly.
Always grease ramekins thoroughly as this prevents sticking and lets your creation slide out beautifully.
- Ramekins: 6-oz ceramic works best
- Mixing bowls: Heatproof glass for melting
- Baking sheet: For easy oven transfer

Mastering Chocolate Lava Cakes with Expert Tips
Perfecting the molten core in desserts requires precision, not complexity. Let’s explore how simple techniques elevate your results from good to extraordinary.
Secrets to Achieving the Perfect Molten Center
Start by whisking eggs and yolks vigorously for 2-3 minutes. They should triple in volume and turn pale yellow.
This creates air pockets that help the batter rise without collapsing.
Baking time is your compass. Remove desserts when edges pull away from ramekins but centers still jiggle slightly.
Test at the 10-minute mark. If the top springs back, they’re ready.
| Oven Type | Ideal Temp | Baking Time |
|---|---|---|
| Conventional | 425°F | 11-12 min |
| Convection | 400°F | 9-10 min |
| Gas | 375°F | 13-14 min |
High heat forms a protective crust while keeping interiors liquid. If your oven runs hot, reduce temperatures by 25°F. Always preheat for even cooking.
Fold flour gently into the mixture using a spatula. Overmixing activates gluten, creating a dense texture instead of tender crumb. Stop when streaks disappear.
Choose chocolate with 60-70% cocoa content. It melts smoothly and balances sweetness.
Pair with unsalted butter for optimal flow—the 1:1 ratio ensures that signature cascade.
Variation and Serving Suggestions
Transform your warm dessert into a canvas of flavors with creative pairings and artful presentation.
The right combinations elevate each bite, turning simple ingredients into memorable moments.
Let’s explore how to customize your creation for any occasion.
Creative Toppings and Flavor Pairings
Classic vanilla ice cream remains a crowd favorite. Its cool creaminess contrasts beautifully with the warm treat.
Fresh raspberries or strawberries add tartness that cuts through richness.
For a gourmet touch, drizzle homemade whipped cream or salted caramel over the top.
Try these winning combinations:
- Summer vibe: Mango slices + coconut ice cream
- Decadent twist: Espresso drizzle + dark chocolate shavings
- Holiday special: Peppermint stick + white chocolate sauce
Plating Ideas for a Stunning Dessert Presentation
Invert your creation onto a white plate while still warm. The molten center will pool naturally around the base.
Dust with cocoa powder using a stencil for elegant patterns.
Arrange three raspberries in a diagonal line and place a mint sprig beside them. Swirl chocolate syrup around the plate’s edge with a squeeze bottle.
Add a quenelle of whipped cream for height contrast.
| Element | Purpose |
|---|---|
| Powdered sugar | Adds visual brightness |
| Edible flowers | Enhances sophistication |
| Sauce designs | Guides the eye across the plate |
Common Pitfalls and Troubleshooting
Even seasoned bakers sometimes face challenges when crafting molten-centered desserts. Don’t worry—most issues have straightforward fixes once you know what to watch for. Let’s break down solutions for the top frustrations.
How to Prevent Overbaking and Dry Texture
Your oven’s quirks determine success. If edges pull away from ramekins but centers still jiggle slightly, they’re done. Remove them immediately—they’ll keep cooking from residual heat.
Use this table as your baking compass:
| Oven Type | Temperature | Time Range |
|---|---|---|
| Electric | 425°F | 10-12 min |
| Gas | 375°F | 13-14 min |
| Convection | 400°F | 8-10 min |
Underbaking beats overbaking. If tops spring back fully, the center will solidify. Err on the side of gooeyness!
Quick Fixes for Common Batter Issues
Lumpy batter? Melt your chocolate and butter completely before mixing. Stir until no streaks remain, but stop before overworking the flour as this causes toughness.
Avoid chocolate chips. Their stabilizers prevent smooth melting. Chop quality bars instead for that signature cascade.
- Sticky ramekins? Grease with butter, then dust with cocoa powder
- Egg yolks not blending? Whisk at room temperature
- Batter too thick? Fold in 1 tsp milk gently
Remember: Proper prep prevents 90% of problems.
Now you’re ready to bake confidently.
Edible Joy and lasting Memories
Mastering this dessert isn’t just about technique. It’s about creating edible joy that leaves lasting memories.
With your newfound knowledge, you’re ready to bake decadent treats that wow guests without stress.
Whether it’s a holiday feast or Tuesday night craving, these individual delights adapt effortlessly.
Prep batter ahead and refrigerate for up to 48 hours, or freeze baked cakes for three months. Simply reheat for instant indulgence when surprises strike.
Grab your ramekins and embrace the magic.
In 25 minutes, you’ll transform six staples into elegance that tastes like hours of effort.
Sweet victories await, one gooey, glorious bite at a time.
And if it’s chocolate you love the most, make sure to check out our recipe to make Chocolate Fudge using just 3 ingredients.
FAQ
How do I prevent my cakes from overcooking?
Keep a close eye on baking time—most recipes need just 10–12 minutes. Use a timer and check early. The edges should look set, but the center will still jiggle slightly when shaken gently.
Can I make the batter ahead of time?
Yes! Prepare the mixture up to 24 hours in advance. Store it covered in the fridge, then let it sit at room temperature for 15 minutes before baking. This ensures even cooking.
What if I don’t have ramekins?
A muffin pan works in a pinch. Grease the cups thoroughly and fill them halfway. Adjust baking time by 1–2 minutes, as smaller portions cook faster.
Why did my molten center disappear?
Overmixing the batter or using too much flour can cause this. Fold ingredients gently until just combined, and measure flour accurately using the spoon-and-level method.
Can I freeze leftovers?
Absolutely. Wrap cooled cakes tightly in plastic and freeze for up to 3 months. Reheat in a 350°F oven for 8–10 minutes to restore the gooey texture.
How do I know when they’re done baking?
The tops should be firm with slight cracks, but the middle will still feel soft. If a toothpick inserted near the edge comes out clean, they’re ready—avoid testing the center!
What’s the best way to unmold them?
Run a knife around the edges immediately after baking. Place a plate upside-down over the ramekin, then flip quickly. Tap lightly if needed—they should slide out smoothly.
Can I use milk instead of dark chocolate?
Sure, but the center will be sweeter and less intense. For a balanced flavor, mix semi-sweet and milk varieties. Avoid white chocolate—it lacks the needed cocoa content.