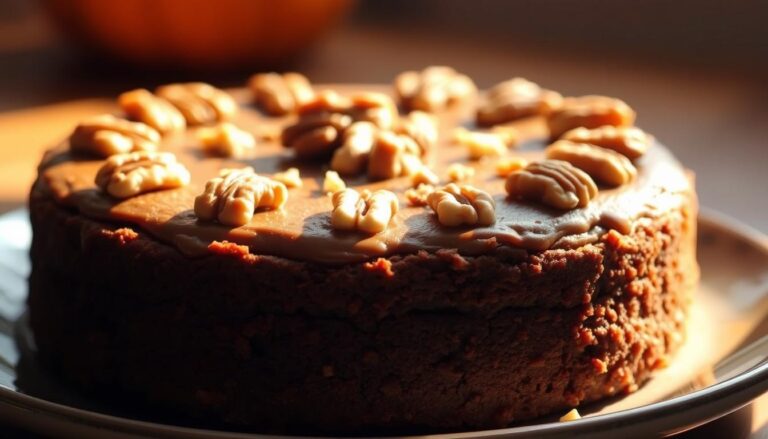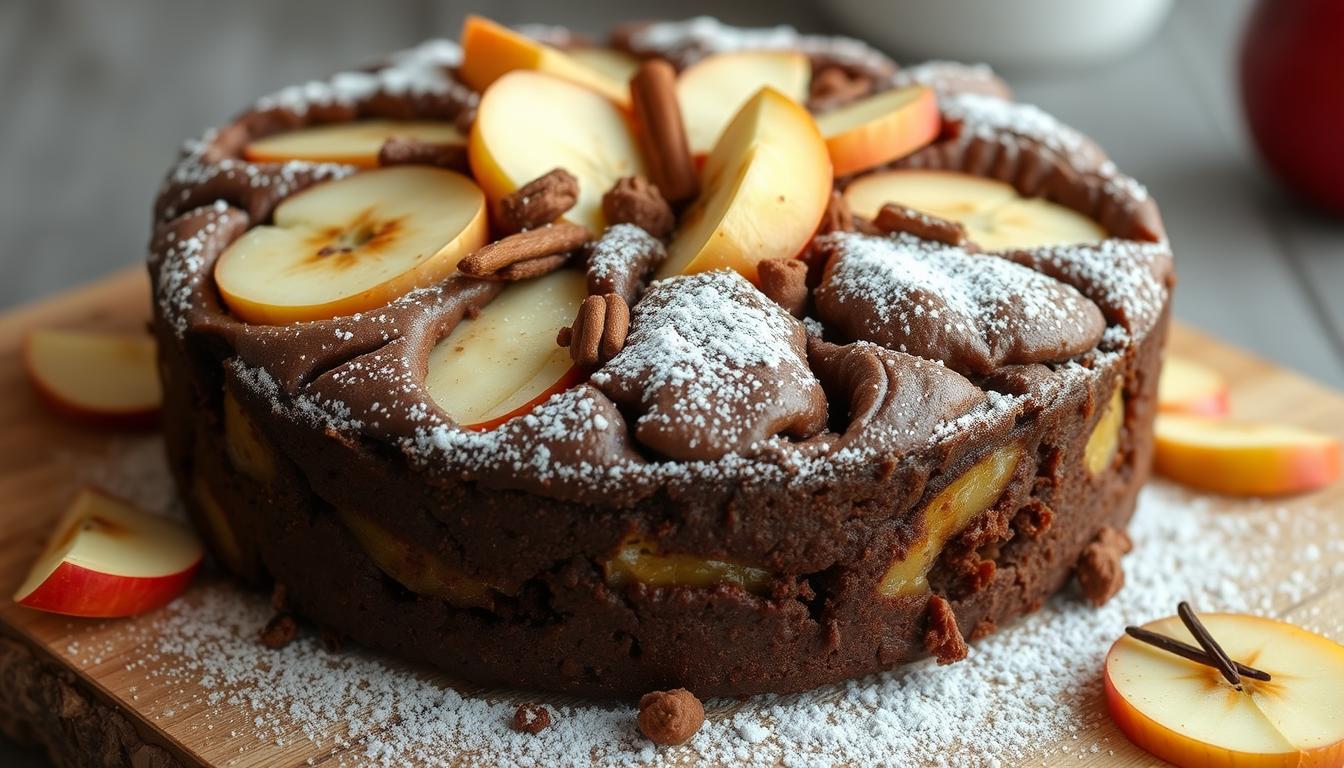
Easy Chocolate Apple Spice Cake (Made in One Bowl)
Want a delicious cake recipe that is really easy to make? Then you’ve come to the right place. Check out our Chocolate Apple Spice Cake.
Fall baking just got simpler with this crowd-pleasing dessert. Imagine combining seasonal fruits with cozy spices and rich cocoa, all mixed in a single bowl.
This recipe skips complicated steps while delivering a tender crumb that stays moist for days.
The magic happens with an unexpected ingredient: slightly soured dairy. This trick creates a foolproof texture every time.
You’ll love how the tangy base complements sweet grated fruit and warming spices.
Oh! and your friends will swear you spent hours in the kitchen.
Ready to dive in?
Let’s do this thing, then.
Key Takeaways
- Uses a single mixing bowl for minimal cleanup.
- Tangy dairy ingredient ensures consistent moisture.
- Balances sweet fruit with aromatic spice blends.
- Works for both casual dinners and festive gatherings.
- Requires no advanced baking techniques.
- Stays fresh for several days after baking.
🍎🍫 One-Bowl Chocolate Apple Spice Cake
Here’s a one-bowl recipe for a delicious Chocolate Apple Spice Cake.
The result is a rich, moist chocolate cake with warm spice notes and a subtle apple flavor, all made in just one bowl.
Yields: One 9×13-inch cake or two 9-inch round cakes.
Ingredients
Dry Ingredients
- 2 cups (250 g) all-purpose flour
- ½ cup (45 g) unsweetened cocoa powder (Dutch-process preferred)
- ¾ cup (150 g) packed light brown sugar
- ¾ cup (150 g) granulated sugar
- 1 ½ tsp baking powder
- 1 tsp baking soda
- ½ tsp fine sea salt
- 2 tsp ground cinnamon
- ½ tsp ground nutmeg
- ¼ tsp ground cloves
- ¼ tsp ground allspice
Wet Ingredients
- ½ cup (120 ml) extra-virgin olive oil (or neutral oil if preferred)
- 2 large eggs, room temperature
- 1 tsp pure vanilla extract
- 1 cup (240 ml) buttermilk or 1 cup whole milk + 1 tbsp lemon juice (let sit 5 min)
- 1 cup (240 ml) unsweetened apple cider or unsweetened applesauce
Instructions
- Preheat Oven & Prep Pan
- Preheat oven to 350°F (175°C).
- Grease and flour a 9×13-inch pan, or line with parchment paper for easy removal.
- Combine Dry Ingredients
- In a large mixing bowl, whisk together: flour, cocoa powder, brown sugar, granulated sugar, baking powder, baking soda, salt, and all spices until evenly distributed.
- Add Wet Ingredients
- Add the olive oil, eggs, vanilla, buttermilk (or soured milk), and apple cider/applesauce directly into the bowl with the dry ingredients.
- Mix the Batter
- Using a whisk or a hand mixer on low speed, blend until just combined and smooth. Do not overmix; a few small lumps are fine.
- Bake
- Pour batter into the prepared pan.
- Bake for 35–40 minutes, or until a toothpick inserted into the center comes out with only a few moist crumbs.
- Cool & Serve
- Let the cake cool in the pan for 15 minutes before slicing.
- Optional: dust with powdered sugar, drizzle with chocolate glaze, or top with a cream cheese frosting for an extra indulgent finish.

Introduction & Recipe Inspiration
Ever wondered how brilliant recipes emerge? Sometimes, magic happens when pantry surprises meet seasonal cravings.
This treat’s origin story proves that kitchen experiments can lead to unforgettable results.
The Story Behind This One Bowl Wonder
A forgotten carton of cream sparked the creation. Instead of tossing it, the baker blended tangy dairy with autumn’s best flavors.
Cinnamon-kissed fruit puree and cider joined forces with cocoa, creating a batter that defied expectations.
Why You’ll Love This Fall-Inspired Dessert
Busy schedules meet cozy vibes here.
You get velvety texture from that secret dairy trick, paired with orchard-fresh sweetness.
No fancy equipment needed, just a bowl and whisk. It’s the kind of recipe that turns “I can’t bake” into “When’s the next batch?”
Perfect for potlucks or quiet nights, this creation balances tradition with modern shortcuts.
You’ll taste nostalgia in every forkful, yet appreciate the streamlined process. Seasonal baking just found its new MVP.
By the way, if you are looking for another easy fall season dessert to make, check out our 2-ingredient Chocolate Pumpkin Muffins recipe.
Essential Raw Materials and Must-Have Tools
Great recipes start with smart choices. Let’s explore the building blocks that make this dessert both flavorful and foolproof.
You’ll need basic kitchen tools: a mixing bowl, whisk, and measuring spoons.
Step-by-Step One Bowl Mixing Method
Creating bakery-quality results requires smart techniques, not complicated tools.
Let’s break down the simple process that turns raw ingredients into a velvety batter using just one container.
You’ll master three core skills: aerating your base, blending evenly, and preserving texture.
Beating, Sifting, and Folding Techniques
Start by combining sugars, oil, and eggs in your bowl. Whisk vigorously for two minutes until the mixture turns pale and creamy.
This step traps air bubbles for a lighter crumb. Use a timer as under-mixing leads to dense results.
Add cider, applesauce, and your tangy dairy liquid all at once. Mix just 20 seconds to prevent overworking the batter.
Notice the batter’s color shifting to a uniform golden-brown? That’s your cue to stop mixing.
For add-ins like nuts, use a spatula to fold them in last. Pour into your prepared pan immediately, resting the mixture too long affects rise.
Pro tip: If using a stand mixer, keep speed medium-low. High settings develop too much gluten.
Three key minutes of beating creates the ideal structure. Set your timer and watch magic happen!

Mastering the Chocolate Apple Spice Cake
The path to baking perfection lies in understanding two crucial elements: moisture management and flavor customization.
Let’s explore how simple tweaks can elevate your results from good to extraordinary.
Harnessing Dairy’s Hidden Power
That slightly tangy liquid in your batter isn’t an accident.
Soured dairy creates a chemical reaction with baking soda, producing tiny air bubbles.
This reaction gives structure while keeping crumb texture tender for days.
| Dairy Option | Acidity Level | Best For |
|---|---|---|
| Buttermilk | High | Classic texture |
| Spoiled milk | Medium | Zero-waste baking |
| Yogurt + milk | Adjustable | Custom tanginess |
Combine this with fruit-based moisture sources for unbeatable results.
Grated fresh apples release juices during baking, while applesauce replaces heavier fats.
Together, they create a dessert that stays fresh without becoming soggy.
Tailoring Flavors to Your Taste
This recipe thrives on personal touches. Try these popular variations to make it uniquely yours:
| Add-In | Purpose | Quantity |
|---|---|---|
| Dark chunks | Richness boost | ½ cup |
| Toasted pecans | Crunch factor | ⅓ cup |
| Coconut oil | Subtle sweetness | Replace 1:1 |
| Cardamom | Modern twist | ¼ tsp added |
Prefer richer flavors? Swap olive oil with melted butter. Need dairy-free? Use plant-based yogurt.
The batter adapts beautifully to substitutions, letting you control sweetness and spice intensity.

Serving Suggestions and Storage Tips
Transform your freshly baked creation into memorable moments with these serving and storage ideas.
The right pairings and preservation methods can elevate your dessert from simple to spectacular while keeping it fresh.
Flavor Pairings That Shine
This versatile treat adapts to any occasion. Try these combinations to highlight its warm spices and moist texture:
| Serving Style | Best Paired With | Ideal For |
|---|---|---|
| Classic Slice | Whipped cream | Afternoon tea |
| Elegant Plating | Powdered sugar dusting | Dinner parties |
| Warm Serving | Vanilla ice cream | Comfort nights |
| Breakfast Twist | Toasted with butter | Morning meals |
| Special Occasion | Maple mascarpone frosting | Celebrations |
Store leftovers in an airtight container at room temperature for two days. For longer freshness, refrigerate up to four days.
The flavors deepen slightly when chilled. Perfect for make-ahead planning.
Revive day-old slices by warming them in a skillet.
A pat of butter creates crispy edges that contrast beautifully with the tender interior. Pair your morning portion with coffee for a cozy start to the day.
User Tips and Troubleshooting
Perfecting your bake requires attention to technique and tools.
Let’s explore solutions to common challenges and how to achieve bakery-quality results every time.
Common Mixing and Baking Do’s and Don’ts
Smart mixing makes all the difference. Follow these guidelines for ideal texture:
| Do | Don’t | Why |
|---|---|---|
| Use room-temperature eggs | Overmix after adding flour | Prevents dense texture |
| Swirl knife through batter | Substitute apple juice | Removes air pockets |
| Fold ingredients gently | Skip sifting dry items | Ensures even distribution |
- Opt for smooth applesauce since chunky versions create uneven results
- Stop mixing when streaks disappear. Overworked batter becomes tough
- Check oven temperature with a thermometer for accurate baking times
Choosing the Right Pan for Perfect Results
Your bakeware dramatically impacts cooking duration and texture. Consider these factors:
| Material | Heat Conduction | Time Adjustment |
|---|---|---|
| Metal | Fast | -5 minutes |
| Glass | Slow | +10 minutes |
| Ceramic | Moderate | No change |
Test doneness by inserting a toothpick in the center, moist crumbs mean it’s ready.
For sheet cakes, start checking at 35 minutes.
Deep bundt pans may need 70 minutes.
Rotate your pan halfway through baking for even browning.
Perfect, you are al set.
Ready to take your fall season desserts to the next level? Then take a look at our Pumpkin Swirl Cheesecake Brownies recipe.
Conclusion
This dessert proves that unforgettable flavors don’t require fancy methods. With just one bowl and common pantry staples, you’ve got a treat that balances cozy warmth with rich depth. The secret? Letting simple ingredients shine – think fruity sweetness dancing with earthy cocoa notes.
What makes this formula stand out is its adaptability. Swap oils, adjust spice blends, or toss in crunchy toppings without fear. Those tablespoons of effort yield cups of reward, whether you’re baking for family dinners or last-minute guests.
Keep this recipe bookmarked for days when time feels scarce but cravings demand attention. Its reliable texture and make-ahead convenience mean you’re always ready to impress. Now grab your whisk – your new favorite creation awaits its debut.
FAQ
Can I substitute coconut oil with another type of fat?
Absolutely! Melted butter or neutral oils like avocado oil work well. Just ensure your replacement is in liquid form for even mixing.
How do I know when the dessert is fully baked?
Insert a toothpick into the center—if it comes out clean or with a few crumbs, it’s ready. Avoid overbaking to keep it tender.
What if I don’t have baking soda on hand?
Swap it with baking powder, but use triple the amount. Note that this might slightly alter the texture, so stick to soda if possible.
Can I use a different pan size?
Yes, but adjust the bake time. For example, cupcakes take 18–22 minutes, while a Bundt pan may need 40–45 minutes. Watch for visual cues!
How should I store leftovers?
Keep them in an airtight container at room temperature for up to 3 days. For longer freshness, refrigerate or freeze slices wrapped in foil.
Can I add nuts or other mix-ins?
Definitely! Fold in chopped walnuts, raisins, or shredded coconut before baking. Just avoid overmixing to maintain a light texture.
Why did my batter turn out too thick or runny?
Measure flour accurately (spoon-and-level method) and ensure apples are grated, not puréed. Adjust with a splash of milk if too dry.
Can I make this gluten-free?
Yes! Use a 1:1 gluten-free flour blend. Check that your cocoa and spices are certified gluten-free to avoid cross-contamination.