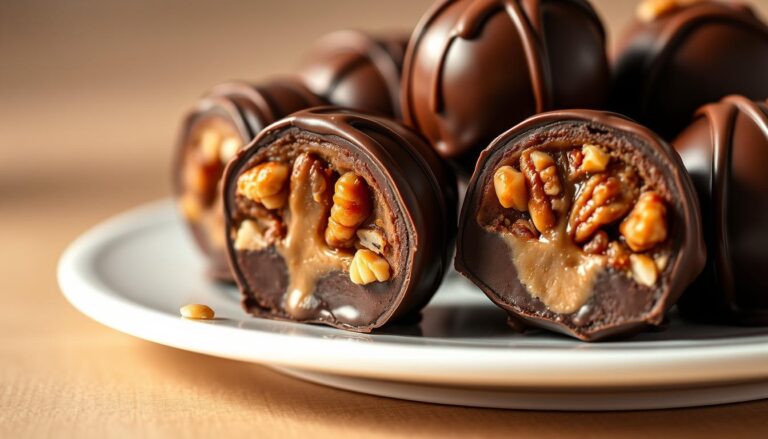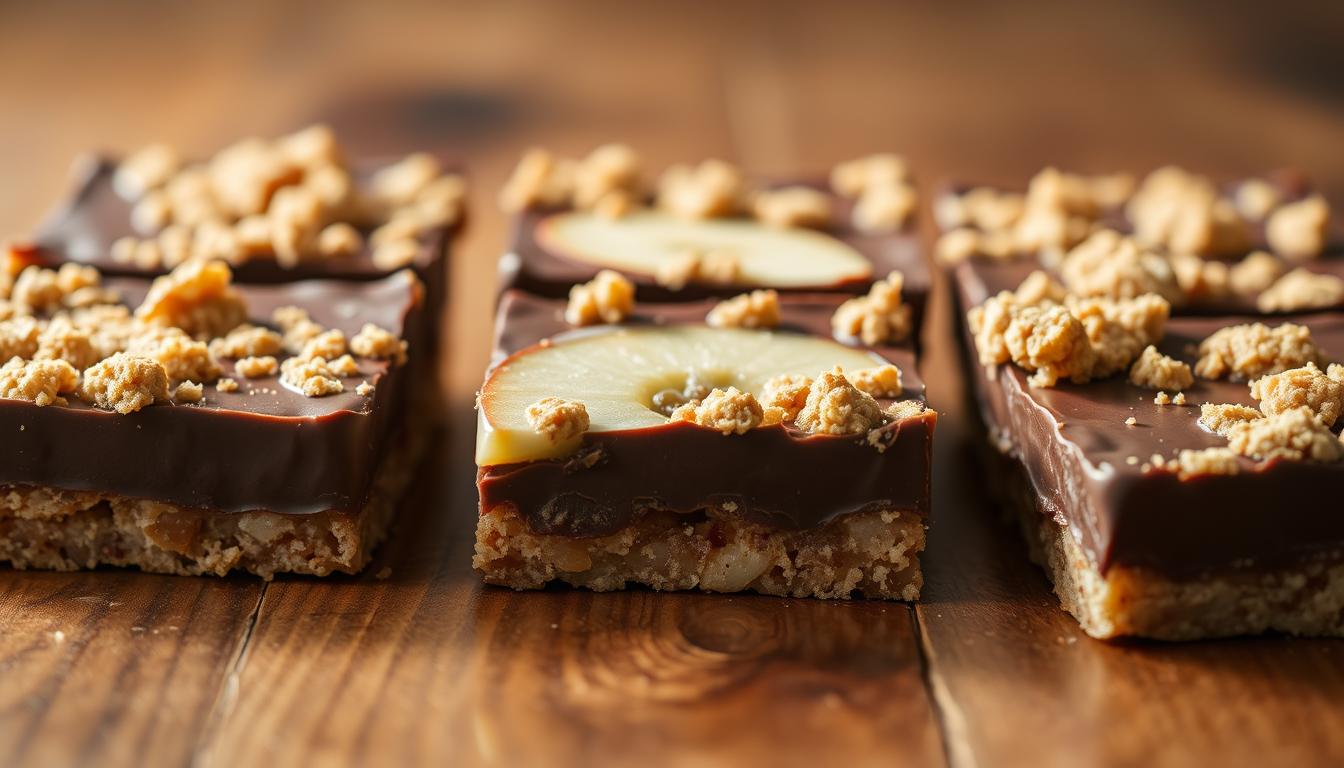
No-Bake Chocolate Apple Crisp Bars
How about a treat that blends the flaky crust of a pie, the richness of brownies, and the spiced warmth of autumn’s favorite fruit? That’s Chocolate Apple Crisp Bars.
The best part? You are keeping that oven turned off.
These handheld delights layer a buttery base, cinnamon-kissed fruit, crunchy crumbles, and a silky dark chocolate finish for a taste that feels like a cozy hug.
Perfect for busy days or last-minute gatherings, this recipe skips complicated steps.
Fresh, tart apples balance the deep cocoa notes, while the crumbly topping adds satisfying texture.
It’s the kind of dish that makes chilly evenings brighter, whether you’re hosting friends or enjoying a quiet night in.
What sets these bars apart is their versatility. Serve them at holiday parties, pack them for picnics, or savor one with your morning coffee.
So, ready to get started?
Let’s go!
Key Takeaways
- Combines pie crust texture, spiced fruit filling, and chocolate drizzle in one treat.
- Requires no baking, ideal for quick preparation.
- Features seasonal flavors perfect for autumn gatherings.
- Uses simple ingredients for effortless dessert creation.
- Balances tart and sweet flavors with satisfying crunch.
- Works as both casual snack and party-ready dish.
🍫🍎 Chocolate Apple Crisp Bars – No-Bake
Here’s the recipe for delicious Chocolate Apple Crisp Bars – No-Bake, that brings together cinnamon apples, the richness of dark chocolate, and a buttery crust.
It yields about 12 bars.
Ingredients (for one 8×8-inch pan)
Crust:
- 2 cups (200 g) graham cracker crumbs (or digestive biscuits, finely crushed)
- ½ cup (115 g) unsalted butter, melted
- 2 Tbsp (25 g) granulated sugar
Apple Cinnamon Layer:
- 3 medium apples (about 360 g), peeled, cored, finely diced
- 2 Tbsp (28 g) unsalted butter
- 2 Tbsp (25 g) light brown sugar, packed
- 1 tsp ground cinnamon
- ¼ tsp ground nutmeg (optional, but adds warmth)
Chocolate Layer:
- 6 oz (170 g) dark chocolate (60–70% cocoa), chopped or chips
- ¼ cup (60 ml) heavy cream
- 1 Tbsp (14 g) unsalted butter
Crisp Topping:
- ½ cup (40 g) rolled oats (not instant)
- ¼ cup (25 g) chopped pecans or walnuts (optional, for crunch)
- 1 Tbsp (12 g) granulated sugar
- 1 Tbsp (14 g) unsalted butter, melted
- ½ tsp ground cinnamon
Instructions
- Prepare the Crust:
- In a bowl, mix graham cracker crumbs, melted butter, and sugar until evenly combined.
- Press firmly into the bottom of an 8×8-inch pan lined with parchment paper.
- Chill in the refrigerator while preparing the apples.
- Make the Apple Cinnamon Layer:
- In a skillet, melt butter over medium heat.
- Add diced apples, brown sugar, cinnamon, and nutmeg.
- Cook for 5–6 minutes until apples are tender but not mushy.
- Spread evenly over the chilled crust.
- Prepare the Chocolate Layer:
- In a heatproof bowl, combine chopped dark chocolate, heavy cream, and butter.
- Melt gently using a double boiler or microwave in 20-second bursts, stirring until smooth.
- Pour over the apple layer and spread evenly with a spatula.
- Make the Crisp Topping:
- In a small bowl, mix oats, nuts (if using), sugar, melted butter, and cinnamon.
- Sprinkle evenly over the chocolate layer.
- Chill & Set:
- Refrigerate for at least 2 hours, or until the bars are firm enough to slice.
- Slice & Serve:
- Lift bars out with parchment and cut into 12 squares.
- Store covered in the refrigerator for up to 5 days.

Essential Equipment
The magic of these handheld treats starts with quality components.
Simple pantry staples transform into layers of flavor when handled right.
Let’s break down what you’ll need to craft that perfect balance of textures.
Must-Have Kitchen Tools and Tips
You don’t need fancy gadgets. A large bowl does double duty for mixing crust and crumble.
Use your palms to blend butter into dry ingredients as it’s faster than a pastry cutter.
| Tool | Use | Pro Tip |
|---|---|---|
| 8×8 pan | Molds layers | Line with parchment |
| Measuring cups | Ensures ratios | Spoon flour lightly |
| Mixing bowl | Combines elements | Chill before use |
Keep butter cold for flaky results. Let the crumble sit at room temperature before sprinkling.
These small steps make big differences in texture.

Tips, Variations, and Expert Advice
Mastering texture and flavor balance turns good desserts into exceptional ones.
Let’s explore how small adjustments can elevate your results while keeping preparation stress-free.
Optimizing Texture With Fruit and Spices
Slice thickness determines whether your filling holds shape or turns mushy.
Quarter fruits first, then cut crosswise into ¼-inch pieces.
This size softens just enough without losing structure.
| Cut Style | Texture Result | Best For |
|---|---|---|
| Thick slices | Firm bite | Chunky texture lovers |
| Thin slices | Softer layer | Quick-setting recipes |
| Chopped | Jam-like consistency | Spreadable fillings |
Balance warm spices by mixing 2 parts cinnamon with 1 part nutmeg.
Toast spices briefly in a dry pan to intensify their aroma before adding to the filling.
Creative Twists for Custom Treats
Swap 25% of the crumble with crushed pecans or walnuts for extra crunch. Add orange zest to the chocolate drizzle for citrusy brightness.
Try these combinations:
| Addition | Flavor Boost | Texture Change |
|---|---|---|
| Dried cranberries | Tart sweetness | Chewy surprises |
| Cardamom | Earthy warmth | No texture impact |
| Toasted coconut | Tropical notes | Crispy flakes |
Make the crumble up to 3 days ahead. Store it chilled in an airtight container, then sprinkle just before serving. This keeps the top layer delightfully crisp.

Seasonal Insights: Embracing Fall Flavors in Your Dessert
Autumn’s crisp air brings nature’s candy to its prime.
This season offers the ultimate opportunity to craft desserts bursting with fresh, vibrant flavors.
Let’s explore how fruit selection shapes your creation’s success.
Choosing the Right Apples for a Tart and Crisp Bite
Granny Smith varieties shine in no-bake recipes.
Their bright acidity cuts through rich ingredients like butter and sugar. Firm flesh stays intact during preparation, avoiding soggy layers.
| Apple Variety | Acidity Level | Texture | Best Use |
|---|---|---|---|
| Granny Smith | High | Crunchy | Structural integrity |
| Pink Lady | Medium-High | Dense | Flavor complexity |
| Braeburn | Medium | Crisp | Balanced sweetness |
| Golden Delicious | Low | Tender | Quick-set fillings |
Combine tart and sweet varieties for layered flavor. Northern Spy apples add subtle spice notes, while Golden Delicious softens acidic edges.
Always slice fruit uniformly for even texture.
Fall harvests provide peak freshness. Visit local orchards or farmers’ markets for firm, juicy picks.
Store them at room temperature until ready to use. Chilled fruits lose their crispness.
Pro tip: Toss slices in a medium bowl with lemon juice to prevent browning. This step maintains visual appeal without altering taste.
Pair your chosen apples with warm spices like cinnamon for that classic pie-inspired aroma.
Sweet and fresh cooking Adventures
Your kitchen adventures just got sweeter.
This no-fuss dessert stays fresh in the refrigerator for five days or freezes beautifully for a month.
Let slices sit at room temperature before serving, or warm them gently in the oven for that fresh-baked aroma.
Hosting a crowd? Double the recipe using a larger pan. Prep the crumble topping days ahead. Serve each square with a scoop of ice cream for extra indulgence.
The magic lies in its adaptability. Swap spices, try different fruits, or mix nuts into the crumble.
These techniques work year-round, but they’re especially perfect for autumn’s bounty.
Now go create something unforgettable.
FAQ
Can I use a different type of fruit instead of apples?
Yes! Pears or peaches work well for a seasonal twist. Adjust spices like nutmeg or cardamom to complement your fruit choice.
Do I need special equipment to make this dessert?
A food processor helps blend the crust ingredients quickly, but a pastry cutter or fork works too. A sturdy baking pan ensures even layers.
How do I prevent the crust from becoming too crumbly?
Press the mixture firmly into the pan and chill it before adding the filling. This helps bind the ingredients for a sturdy base.
Can I make these ahead of time for a party?
Absolutely! Store them in an airtight container in the fridge for up to 3 days. Serve chilled or let them sit at room temperature for 10 minutes.
Is there a gluten-free alternative for the crust?
Swap all-purpose flour with almond flour or gluten-free oat flour. Ensure your oats are certified gluten-free if dietary needs require it.
Why are Granny Smith apples recommended for this recipe?
Their tartness balances the sweetness of the brown sugar and cinnamon. They also hold their texture better compared to softer varieties.
Can I skip the oven entirely for a truly no-bake version?
The crust benefits from a quick bake to set, but you can use a pre-made granola base instead. Layer it with cooked filling for a faster option.