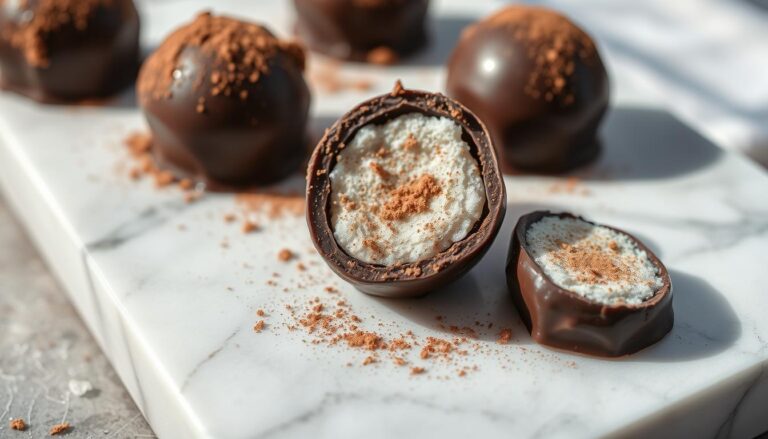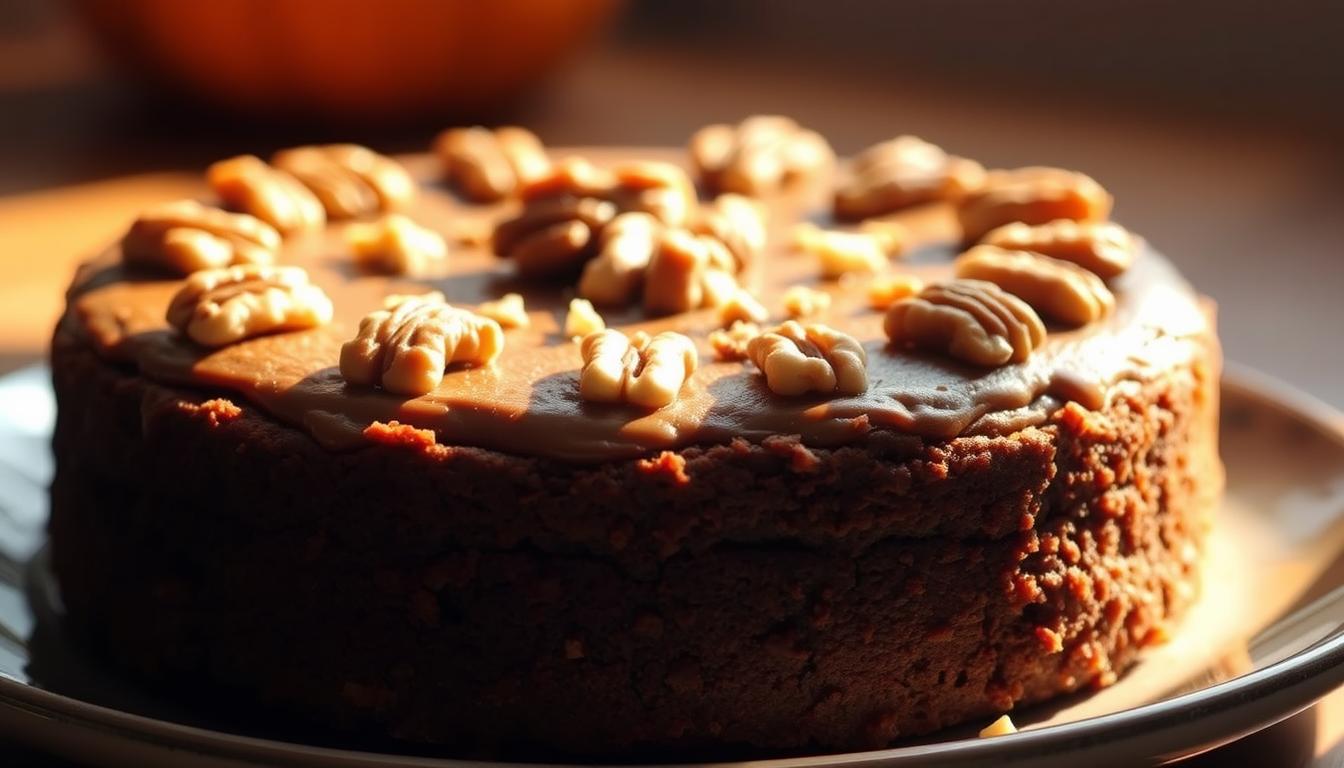
Chocolate Pumpkin Dump Cake with Toasted Walnuts
How about making a crowd-pleasing dessert special for the fall season? A Chocolate Pumpkin Dump Cake with Toasted Walnuts is exactly the thing.
The truth is that when autumn arrives, nothing beats a warm dessert that blends seasonal flavors with effortless preparation.
The magic lies in layering simple ingredients directly in your baking dish.
A spiced base pairs perfectly with decadent additions, while toasted nuts add a satisfying crunch.
This approach lets you focus on enjoying the process, and the compliments that’ll follow when you serve it.
This is the kind of dessert that disappears quickly, whether you’re hosting guests or treating yourself.
Ideal for Thanksgiving feasts or casual weeknights.
Let’s explore how to create this seasonal favorite that balances simplicity with bold flavor.
Key Takeaways
- Combines autumn spices with rich textures for a crowd-pleasing dessert.
- Requires minimal prep time using common pantry ingredients.
- Perfect for holidays or casual gatherings year-round.
- Toasted nuts add contrasting crunch to the soft layers.
- Simplified “dump” method eliminates complicated baking steps.
- Versatile recipe adapts to different dietary preferences.
Here’s a precise, step-by-step recipe for a Chocolate Pumpkin Dump Cake with Toasted Walnuts:
🍂 Chocolate Pumpkin Dump Cake with Toasted Walnuts
Ingredients (for a 9×13-inch baking dish)
- 1 can (15 oz / 425 g) pure pumpkin puree
- 1 can (12 fl oz / 354 ml) evaporated milk
- ¾ cup (150 g) packed light brown sugar
- 3 large eggs (150 g total, room temperature)
- 2 tsp (6 g) pumpkin pie spice
- 1 box (15.25 oz / 432 g) yellow cake mix
- ½ cup (115 g) unsalted butter, melted
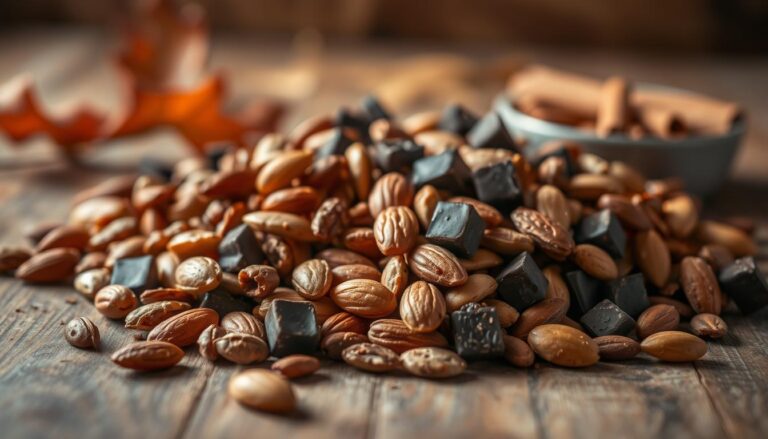
- ½ cup (60 g) toasted walnuts, chopped
- ½ cup (85 g) semi-sweet chocolate chips
Instructions
- Preheat oven to 350°F (175°C). Grease or line a 9×13-inch baking dish with parchment paper.
- Prepare pumpkin filling:
- In a large mixing bowl, whisk together the pumpkin puree, evaporated milk, brown sugar, eggs, and pumpkin pie spice until smooth and well combined.
- Pour mixture evenly into the prepared baking dish.
- Add cake mix layer:
- Evenly sprinkle the dry yellow cake mix over the pumpkin filling (do not stir).
- Top with butter and walnuts:
- Drizzle melted butter evenly across the surface of the dry cake mix.
- Scatter the toasted walnuts and chocolate chips on top.
- Bake:
- Bake uncovered for 50–55 minutes, or until the top is golden brown and set, and the edges begin to pull away from the pan.
- A toothpick inserted near the center should come out with moist crumbs (not wet batter).
- Cool & serve:
- Allow to cool at least 30 minutes before slicing.
- Serve warm or at room temperature, optionally with whipped cream or vanilla ice cream.
✅ Texture tip: This dessert bakes into layers: creamy pumpkin custard on the bottom and a buttery, crumbly cake crust on top with crunch from walnuts and melty chocolate throughout.

Introduction to a Favorite Fall Dessert
Seasonal baking becomes a joy with simple yet flavorful creations.
This treat combines cozy spices and rich textures using a method that skips complicated steps.
It’s perfect for those who want impressive results without spending hours in the kitchen.
By the way, if you are one of those you will want to take a look at our Soft-Baked Apple Butter Cookies recipe.
Why You’ll Love This Seasonal Treat
Imagine a dessert that mixes warm spices with gooey layers in under an hour.
The blend of earthy notes and sweet richness creates a nostalgic flavor profile.
Toasted walnuts add crunch, while the easy prep lets you focus on enjoying autumn moments.
Busy hosts appreciate how quickly it comes together. You can adapt it for dietary needs or swap toppings based on what’s in your pantry.
It’s equally suited for holiday tables or Tuesday night cravings.
The Allure of Dump Cakes in Fall
These desserts revolutionized home baking by prioritizing simplicity. Just layer ingredients and bake.
No mixing bowls or fancy tools required.
The method works beautifully with seasonal produce, letting flavors shine without fuss.
| Feature | Traditional Cake | Dump Cake |
|---|---|---|
| Prep Time | 45+ minutes | 15 minutes |
| Ingredients | Specialty items often needed | Pantry staples |
| Skill Level | Intermediate | Beginner-friendly |
Families love how it encourages creativity.
Swap fruits, adjust spices, or try different nuts, each variation feels like a new recipe.
That flexibility makes it a fall staple across generations.
Essential Materials and Tools
The secret to a flawless bake lies in selecting premium items.
Using the right components ensures your dessert balances creamy textures with a crisp topping.
Let’s break down what you’ll need to make this seasonal favorite shine.
Key Ingredients: Pumpkin, Cake Mix, and Spices
Start with pure pumpkin puree, not pie filling, for authentic flavor.
Combine it with evaporated milk, brown sugar, and eggs to create a velvety base.
Pumpkin pie spice adds warmth, while a box of yellow cake mix forms the golden crumble topping.
- Use real butter for optimal texture (margarine won’t crisp properly)
- Choose fresh nuts—toast them beforehand for deeper flavor
- Spice cake mix works as a bold alternative to yellow
Must-Have Kitchen Equipment and Tips
A 9×13-inch baking dish is non-negotiable. Glass or ceramic versions distribute heat evenly, preventing burnt edges. You’ll also need:
- Large mixing bowl for blending wet ingredients
- Whisk or hand mixer to achieve smooth consistency
- Oven thermometer for precise temperature control
Pro tip: Lightly grease your dish before layering. This prevents sticking without altering the dessert’s texture.
If time allows, chill the butter before melting as it helps create distinct crispy clusters in the topping.

Mastering the Chocolate Pumpkin Dump Cake
Perfecting this autumnal delight requires understanding its unique baking behavior.
Unlike traditional desserts, it thrives on layered textures rather than uniform doneness. Let’s explore how to nail the technique while keeping room for creative twists.
Tips for Dump Cake Perfection
Forget the toothpick test here. Your eyes and fingers become the best tools. Look for a golden-brown surface that springs back lightly when pressed.
Edges pulling away from the pan signal it’s ready, even if the center seems soft underneath.
| Doneness Indicator | Traditional Cake | Dump Cake |
|---|---|---|
| Surface Texture | Smooth, even rise | Cracked, rustic crust |
| Edge Behavior | Slight browning | Visible shrinkage |
| Internal Check | Clean toothpick | Moist crumbs okay |
Resist stirring layers after assembly.
The magic happens when ingredients meld independently during baking.
A slightly jiggly center? That’s normal. It firms as it cools.
Using Variations to Suit Your Taste
Swap yellow cake mix for bold alternatives without changing your method. Try these crowd-pleasing options:
- Spice mix: Amplifies warm autumn notes
- Chocolate fudge: Creates rich contrast
- Devil’s food: Intensifies cocoa flavors
Prefer nuts? Toasted pecans or almonds work as well as walnuts.
For extra decadence, sprinkle chocolate chips between layers before baking.
This recipe will adapt beautifully, so don’t be afraid to make it your own.

Baking and Finishing Touches
The final steps transform simple ingredients into a textural masterpiece.
Proper temperature control and patience during cooling ensure your creation reaches its full potential.
Let’s explore how timing and technique work together to create that irresistible crunch.
Achieving the Perfect Crumbly Top
Set your oven to 350°F and position racks in the middle for even heat distribution. Bake for 45-50 minutes until edges pull away from the pan.
The center should feel springy when gently pressed. Don’t worry if it seems slightly soft underneath.
| Indicator | Traditional Baking | Dump Method |
|---|---|---|
| Surface Texture | Uniform rise | Rustic cracks |
| Edge Behavior | Light browning | Caramelized crust |
| Internal Check | Toothpick test | Spring-back test |
Melted butter creates crispy pockets where it pools on dry mix.
Leave some areas uncovered as this uneven coating builds varied textures. Rotate your dish halfway through baking if your oven has hot spots.
Cooling time matters as much as baking time. Let it rest before slicing (30 to 60 minutes).
This waiting period lets layers firm up while flavors merge into harmonious balance. Serve slightly warm for cobbler-style comfort or chilled for cleaner slices.
Creative Variations and Serving Suggestions
Transform your dessert into a customizable masterpiece with smart ingredient swaps and presentation upgrades.
These tweaks let you adapt the recipe to different tastes while maintaining its signature ease.
Enhancing With Toasted Walnuts and Chocolate Chips
Swap standard nuts for deeply toasted walnuts to amplify earthy flavors.
The roasting process unlocks richer aromas that pair beautifully with sweet elements.
For chocolate lovers, fold in semi-sweet morsels before baking as they’ll melt into gooey pockets that contrast with the spiced base.
Consider mixing chip sizes for textural interest. Mini morsels distribute evenly, while large chunks create dramatic molten pools.
Sprinkle extra on top during the last 10 minutes of baking for a crackly surface.
Pairing With Cold Treats or Sweet Sauces
Serve warm slices alongside a scoop of creamy vanilla frozen dessert.
The temperature contrast highlights both the crispy topping and soft interior.
For autumn-themed flair, try cinnamon or butter pecan varieties instead.
Drizzles take presentation to new heights. Warm caramel sauce adds buttery depth, while chocolate ganache leans into decadence.
Keep toppings in squeeze bottles for artistic swirls that impress guests without extra effort.
| Topping | Flavor Impact | Prep Time |
|---|---|---|
| Salted caramel | Balances sweetness | 2 minutes |
| Whipped cream | Lightens richness | 30 seconds |
| Powdered sugar | Subtle sweetness | Instant |
Impressive yet uncomplicated results.
This crowd-pleasing dessert proves that impressive results don’t require complicated methods.
With its clever layering technique and smart use of pantry staples, your creation stays fresh in an airtight container for up to three days.
Need to revive leftovers? Cover the dish with foil and warm at 350°F for 15 minutes—it’ll taste like it just came out of the oven.
What makes this recipe stand out is its balance of cozy spices and practical prep.
While traditional pies demand precise crust work, here you get similar warmth from pumpkin pie spice without the stress.
It’s ideal for busy hosts who want to prepare desserts ahead, though we recommend baking it no more than 24 hours before serving for peak texture.
Whether you’re feeding a holiday crowd or enjoying a quiet night in, this treat delivers satisfaction in every bite.
The golden crumble topping and creamy base create a contrast that keeps people coming back for seconds.
Once you try this approach, you might find yourself rethinking all your fall baking routines.
Ready for your next fall season baking challenge? Take a look at our White Chocolate Apple Butter Blondies.
FAQ
Can I use fresh pumpkin instead of canned?
Yes! Purée roasted or steamed pumpkin until smooth. Replace canned with equal amounts, but drain excess moisture first for the best texture.
What if I don’t have pumpkin pie spice?
Mix 1 tsp cinnamon, ¼ tsp nutmeg, ¼ tsp ginger, and ⅛ tsp cloves. Adjust ratios to match your preferred flavor profile.
How do I prevent a soggy top layer?
Spread dry ingredients evenly and avoid overmixing. Letting the batter sit for 5 minutes before baking helps create that crisp crust.
Can I make this ahead of time?
Bake it 1–2 days in advance and store covered at room temp. Reheat briefly in the oven or microwave before serving.
Are there nut-free alternatives to walnuts?
Swap toasted walnuts for seeds like pepitas or omit them entirely. Chocolate chips or shredded coconut also add great texture.
How do I know when it’s fully baked?
The edges should bubble slightly, and the top will turn golden-brown. A toothpick inserted into the cake layer will come out clean.
Can I freeze leftovers?
Absolutely! Slice cooled portions, wrap tightly, and freeze for up to 3 months. Thaw overnight in the fridge before reheating.