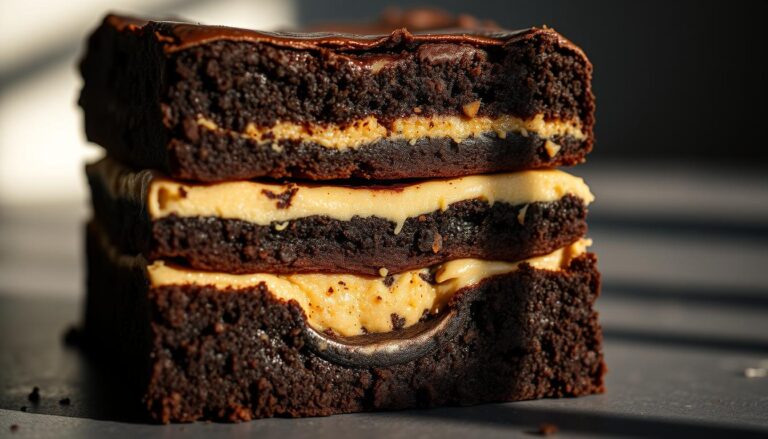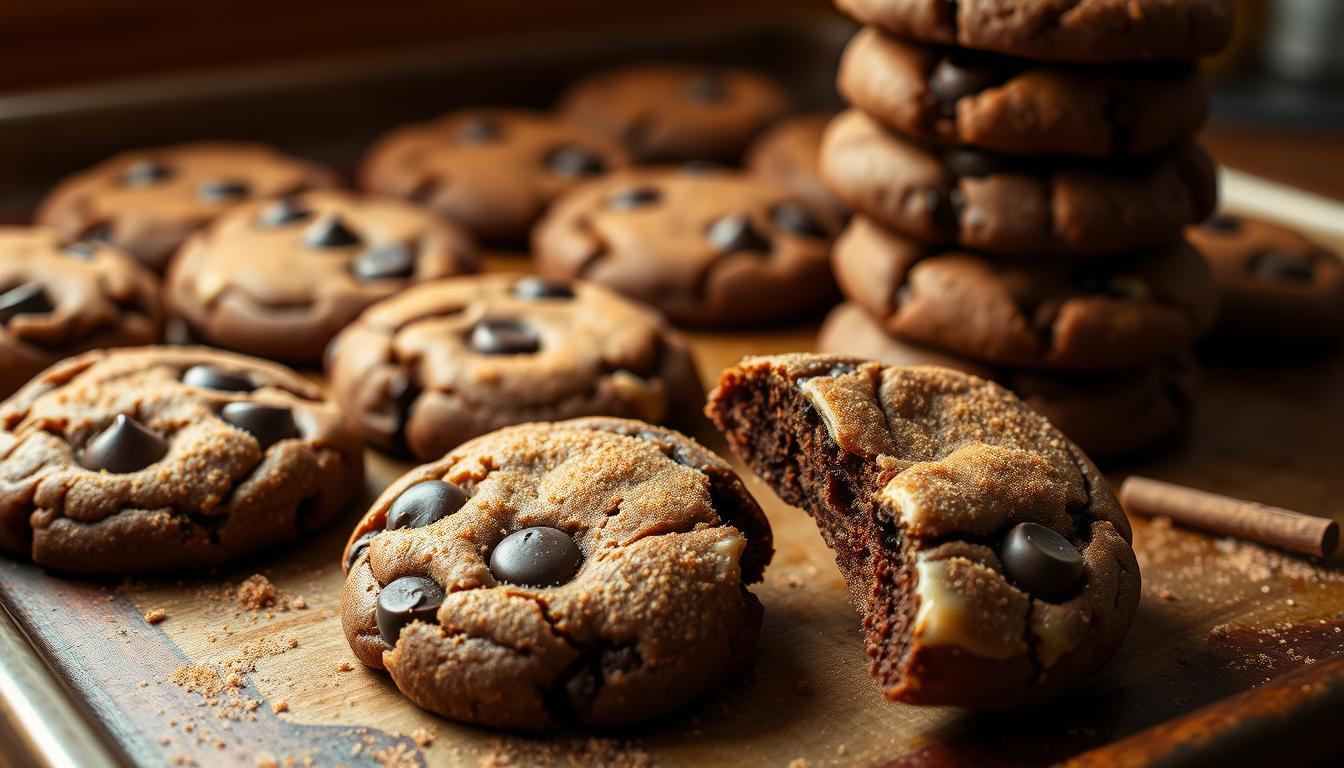
Chewy Chocolate Pumpkin Spice Cookies with Cream Cheese Frosting
Autumn’s here, feel like having cozy spices with irresistible chewiness? Then these Chocolate Pumpkin Spice Cookies are exactly what you need.
There are no cakey textures or bland flavors here.
Unlike standard recipes, they use clever techniques to create a dense, fudgy bite that keeps you reaching for more.
In addition, you’ll love how simple these are to make. Just one bowl and a spoon. No mixers or fancy gadgets required.
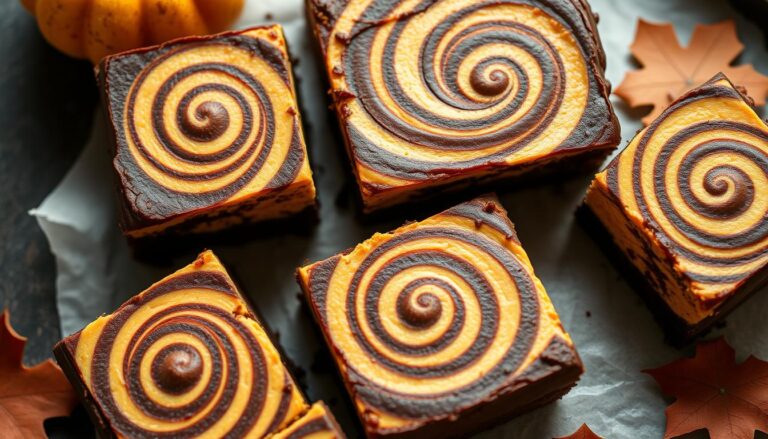
Warm spices mingle with rich chocolate chunks, creating autumn-inspired harmony in every bite.
Plus, they taste even better after cooling, making them ideal for holiday baking or edible gifts.
So yeah, let’s get this show on the road.
Key Takeaways
- Blotting pumpkin puree removes moisture for dense, chewy results.
- Brown butter adds nutty flavor without creaming techniques.
- Egg-free dough relies on pumpkin for perfect texture.
- One-bowl mixing simplifies prep work.
- Flavors intensify after cooling for make-ahead convenience.
- Balanced spice profile complements chocolate chunks.
🍪 Chocolate Pumpkin Spice Cookies with Cream Cheese Frosting
Here’s an easy-to-follow recipe for Chocolate Pumpkin Spice Cookies with Cream Cheese Frosting:
Ingredients
Cookies:
- 1 cup (227 g) unsalted butter, browned and cooled slightly
- 1 cup (200 g) granulated sugar
- ¾ cup (150 g) light brown sugar, packed
- 1 large egg yolk
- 1 cup (240 g) pumpkin puree, blotted well with paper towels to remove excess moisture
- 2 teaspoons pure vanilla extract
- 2 cups (250 g) all-purpose flour
- 1 teaspoon baking soda
- 1 teaspoon baking powder
- 1 teaspoon ground cinnamon
- ½ teaspoon ground nutmeg
- ½ teaspoon ground ginger
- ¼ teaspoon ground cloves
- ½ teaspoon salt
- 1 cup (170 g) semi-sweet chocolate chips
Cream Cheese Frosting:
- 4 oz (113 g) cream cheese, softened
- ¼ cup (57 g) unsalted butter, softened
- 1 ½ cups (180 g) confectioners’ sugar, sifted
- ½ teaspoon vanilla extract
- Pinch of salt
Instructions
Brown the Butter
- In a saucepan, melt the butter over medium heat.
- Stir frequently until the butter foams, then turns golden brown with nutty aromas (about 5–7 minutes).
- Remove from heat and cool for 10 minutes.
Make the Cookie Dough
- In a large bowl, whisk together the browned butter, granulated sugar, and brown sugar until smooth.
- Add the egg yolk, blotted pumpkin puree, and vanilla extract. Mix well.
- In a separate bowl, whisk together flour, baking soda, baking powder, cinnamon, nutmeg, ginger, cloves, and salt.
- Gradually fold the dry mixture into the wet mixture until just combined.
- Stir in the chocolate chips.
- Chill dough in the refrigerator for 30 minutes to firm.
Bake the Cookies
- Preheat oven to 350°F (175°C). Line baking sheets with parchment paper.
- Scoop 1 ½ tablespoon portions of dough and place them 2 inches apart on the baking sheets.
- Bake 10–12 minutes, until edges are set but centers are still slightly soft.
- Cool cookies on the sheet for 5 minutes, then transfer to a wire rack to cool completely.
Make the Cream Cheese Frosting
- Beat cream cheese and butter together until smooth.
- Gradually add sifted confectioners’ sugar, then beat in vanilla and a pinch of salt until fluffy.
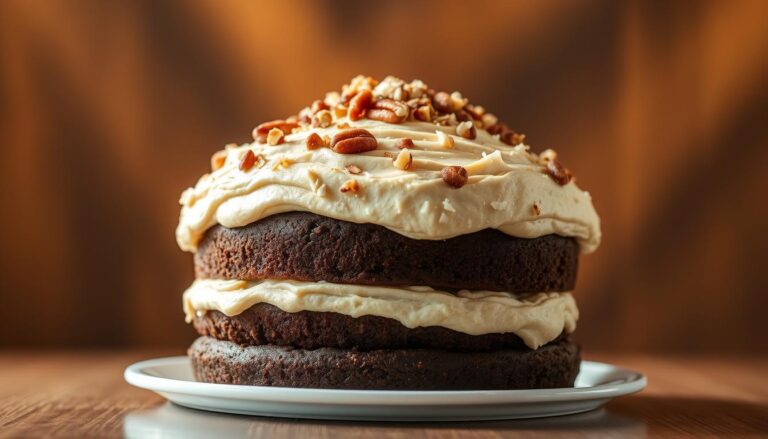
Frost the Cookies
- Once cookies are fully cooled, spread or pipe the cream cheese frosting on top.
- Optionally, dust lightly with cinnamon for garnish.

Why You’ll Love These Chocolate Pumpkin Spice Cookies
Imagine biting into a treat that feels like autumn wrapped in edible form.
These goodies redefine seasonal baking by solving common texture pitfalls while delivering bold flavors.
Let’s explore what makes them stand out in crowded holiday dessert spreads.
Perfect Balance of Chewy Texture and Spicy Warmth
Say goodbye to disappointing muffin-top imitations.
The secret lies in the magic of melted butter. it creates caramelized depth while keeping centers fudgy.
Unlike creamed butter methods, this approach skips tedious mixing for instant richness.
Pumpkin steps up as the MVP here. Its natural moisture replaces eggs, creating a dense crumb that stays tender for days.
The spice blend? Adjust it like a pro, add extra ginger for zing or dial back cloves if you prefer subtle warmth.
Embracing Fall Flavors in Every Bite
These treats improve with time. Day-old versions develop deeper chewiness as flavors meld.
You’ll notice brown butter’s nutty notes dancing with cinnamon first, followed by creamy chocolate bursts.
No more sad, cakey results. The dough’s moisture control ensures each batch holds its shape while baking.
Share them at gatherings or stash some for midnight cravings. They maintain their irresistible texture wherever they go.

Essential Kitchen Tools
Great baking starts with smart prep work. Let’s break down what you’ll need to create cookies with deep flavor and perfect texture.
Special Equipment Tips for Baking Success
A large cookie scoop ensures even sizing for consistent baking.
Silicone mats or parchment paper prevent sticking without greasy residue. Use sturdy bowls that handle thick dough without slipping.
Room-temperature ingredients blend smoothly, except when recipes specify chilled butter.
Digital scales help nail measurements, but the spoon-and-level method works for flour if you’re careful. Keep spices fresh since stale ones taste flat.

Mastering the Pumpkin Preparation
Perfecting your cookie texture starts with one surprising step.
While pumpkin adds earthy flavor, its high water content can sabotage your dough. Learning to manage this moisture transforms results from cakey to chewy.
How to Blot Pumpkin Puree Effectively
Fresh from the can, pumpkin puree contains 90% water, which is great for breads, but disastrous for cookies.
Spread ½ cup portions on a dinner plate. Layer 3 paper towels over the puree and press firmly. Peel back towels to reveal thickened pumpkin.
Repeat until puree feels like moldable clay. You’ll remove about 4 tablespoons of liquid per ½ cup.
This leaves concentrated flavor without excess moisture that causes puffiness during baking.
| Pumpkin Prep Step | Moisture Content | Texture Result |
|---|---|---|
| Straight from can | 90% water | Cakey, dense |
| After blotting | 45-50% water | Chewy, fudgy |
| Improper blotting | 70% water | Spreads thin |
Balancing Moisture for Chewy Cookies
Properly prepped puree blends seamlessly into dough without making it sticky.
Test readiness by pinching a blob between fingers. It should hold shape briefly before slowly flattening.
This moisture control lets pumpkin act as both flavor agent and binder.
Your dough stays thick enough to scoop while baking into tender centers with crisp edges. No more hockey puck textures!
Mixing Techniques for Chewy Perfection
The secret to bakery-quality texture lies in your mixing method. Proper technique transforms simple ingredients into chewy masterpieces.
Let’s break down two critical phases that ensure success.
Emulsifying Butter and Sugars for Maximum Chew
Melted butter works magic here. Instead of creaming with a mixer, whisk it directly with sugars. This creates tiny air pockets for lift without drying out the dough.
For brown butter enthusiasts: cool it to 76°F first.
This golden liquid should feel slightly warm, not hot. Whisk vigorously for 60 seconds until the mix resembles wet sand.
This emulsification locks in moisture while preventing flat results.
| Method | Temperature | Whisk Time | Texture Result |
|---|---|---|---|
| Melted Butter | Room temp | 45 seconds | Uniform chew |
| Brown Butter | 76°F | 60 seconds | Nutty + dense |
Combining Dry and Wet Ingredients with Care
Room-temperature ingredients blend smoothly. Add your prepped pumpkin and vanilla to the butter mixture.
Stir just until combined as overmixing causes toughness.
Fold dry ingredients in three batches. Stop when you see no flour streaks. The dough will look shaggy, but that’s perfect.
Chocolate chips might slide around at first. Keep folding gently until they stick.
Remember: gluten development is the enemy of chew. Treat the dough like fragile silk. Every gentle fold preserves that dreamy texture.
Cooling, Chilling, and Baking Guidelines
Timing transforms good dough into great cookies. Let’s explore how temperature control and precise baking create that signature chewy texture everyone loves.
Why Chilling the Dough Is Essential
Chilling solidifies the fats in your dough, preventing flat, spread-out results.
A minimum 30-minute rest lets ingredients hydrate properly.
For deeper flavor, refrigerate up to 3 days, just let it sit at room temperature for 15-30 minutes before scooping.
Baking Time and Temperature Tips
Preheat your oven to 350°F for balanced heat distribution. Bake 11-12 minutes until edges firm up but centers stay soft.
Need faster results? Try 375°F for 9-11 minutes – watch closely to avoid over-browning.
| Temperature | Bake Time | Texture Result | Best For |
|---|---|---|---|
| 350°F | 11-12 minutes | Even chew | First-time bakers |
| 375°F | 9-11 minutes | Crisp edges | Quick batches |
Use parchment-lined baking sheets for easy removal. Cookies continue cooking after leaving the oven – that soft center firms up perfectly as they cool. Always verify oven temperature with a thermometer for consistent results.
Variations and Creative Serving Ideas
Transform your autumn baking routine with creative twists that keep taste buds guessing.
These adaptable treats welcome playful experimentation while maintaining their signature chew.
Let’s explore how to personalize your batches for different occasions.
Mix-In Ideas and Alternative Flavors
Swap chocolate chips for toasted walnuts or dried cranberries to add crunch and tartness.
White chocolate chunks pair beautifully with orange zest for citrusy depth. Prefer nut-free options?
Try sunflower seeds or coconut flakes instead.
For spice lovers, mix in candied ginger or a dash of cardamom.
Those avoiding cocoa can highlight autumn flavors with butterscotch morsels.
Always chop mix-ins uniformly to ensure even distribution in every bite.
Presentation and Serving Suggestions for Fall Gatherings
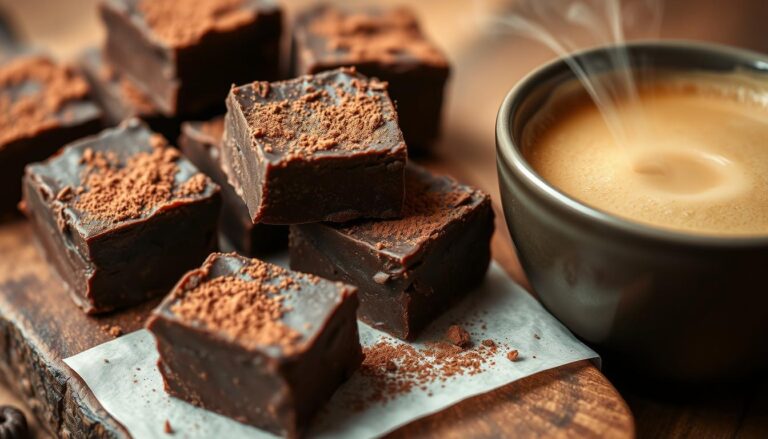
Arrange warm treats on a rustic wooden board with cinnamon sticks for garnish.
Package cooled versions in mason jars tied with twine. Perfect for hostess gifts.
Pair with spiced cider or espresso for cozy dessert pairings.
Create a DIY topping bar at parties with bowls of caramel drizzle, sea salt, and crushed candied nuts.
For brunch events, serve mini versions alongside pumpkin cream cheese dip. Or check out our fall season dip for cookies and fruit.
Your creations will disappear faster than falling leaves.
FAQ
Can I use canned pumpkin instead of fresh puree?
Yes! Canned puree works well, but make sure to blot excess moisture with paper towels first. This helps maintain the ideal texture without making the dough too wet.
How long should I chill the dough before baking?
Aim for at least 1 hour in the fridge. Chilling solidifies the fats, prevents overspreading, and enhances flavor melding. For best results, let it rest overnight.
Can I freeze unbaked dough for later use?
Absolutely. Portion it with a scoop, freeze on trays, then store in airtight bags for up to 3 months. Bake straight from frozen—just add 1-2 extra minutes to the timer.
Why do my treats spread too thin in the oven?
Overly soft butter or warm dough often causes this. Ensure ingredients are at room temperature (not melted), and always preheat your oven. Using quality baking sheets lined with parchment also helps.
What’s a dairy-free alternative for cream cheese frosting?
Try coconut cream blended with powdered sugar and vanilla. For a simpler option, dust cooled goodies with cinnamon sugar or drizzle melted dark dairy-free morsels.
How do I store leftovers to keep them fresh?
Place them in an airtight container at room temp for 3 days or refrigerate for up to a week. For longer storage, freeze frosted or unfrosted portions between wax paper layers.