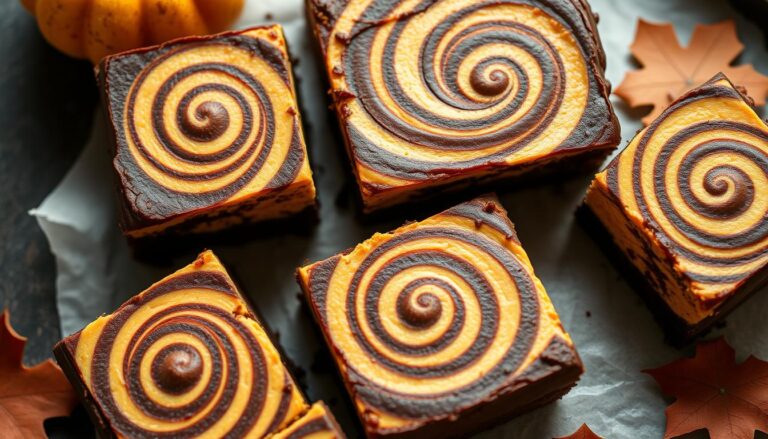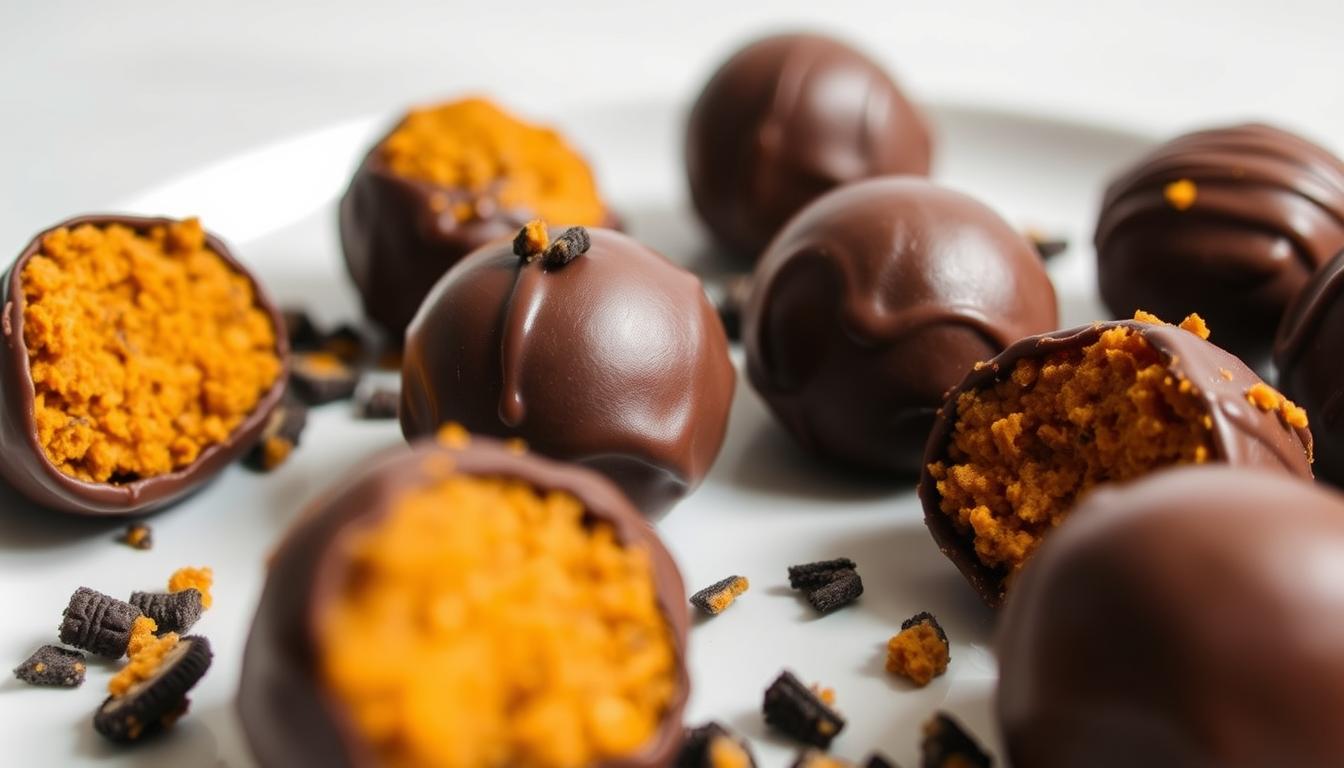
Easy No-Bake Chocolate Pumpkin Oreo Balls
Looking for a simple dessert that captures autumn’s essence? Then Chocolate Pumpkin Oreo Balls are exactly what you are after.
These bite-sized delights blend creamy cheesecake-like filling with crunchy cookie textures.
The best part? no oven required.
Fall gatherings call for festive flavors, and this recipe delivers.
Crushed cookies mix with smooth cream cheese and warm spices to create a crowd-pleasing treat.
Their portable size makes them ideal for Halloween potlucks or Thanksgiving dessert tables.
Why stress over complicated desserts? Just roll, chill, and dip.
Let’s go.
Key Takeaways
- Requires only 3-5 ingredients and zero baking time.
- Combines seasonal pumpkin spice with classic cookie crunch.
- Perfect for Halloween, Thanksgiving, or casual autumn parties.
- Easier to make than traditional cake-based alternatives.
- Beginner-friendly recipe with guaranteed delicious results.
Recipe for Chocolate Pumpkin Oreo Balls – No Bake Treat
Here’s the easy no-bake recipe for Chocolate Pumpkin Oreo Balls.
It yields about 24 balls.
Ingredients
- 36 Oreo cookies (1 standard 14.3 oz / 405 g package)
- 8 oz (225 g) full-fat cream cheese, softened to room temperature
- 2 tbsp (30 g) pumpkin puree (optional but recommended for pumpkin flavor)
- ¼ tsp pumpkin spice blend (optional, for extra flavor)
- 12 oz (340 g) white chocolate, finely chopped or in melting wafers
- 2 oz (55 g) semisweet or dark chocolate chips (optional, for drizzling)
Instructions
- Prepare the Oreos
- Place Oreos (cookies and filling) in a food processor.
- Pulse until fine crumbs form. Reserve about 2 tbsp crumbs for garnish.
- Make the filling
- In a mixing bowl, combine Oreo crumbs, softened cream cheese, and pumpkin puree (if using).
- Add pumpkin spice blend if desired.
- Mix well with a spatula (or use a stand mixer) until fully combined into a sticky dough.
- Shape the balls
- Scoop about 1 tablespoon of mixture at a time and roll into smooth balls.
- Place them on a parchment-lined baking sheet.
- Freeze for 20–25 minutes until firm.
- Coat with chocolate
- Melt the white chocolate in a heatproof bowl over simmering water (double boiler method) or microwave in 20-second intervals, stirring until smooth.
- Using a fork or dipping tool, dip each ball into the melted white chocolate.
- Place back on the parchment-lined tray.
- Optional drizzle & garnish
- Melt the dark/semi-sweet chocolate and drizzle over the coated Oreo balls for contrast.
- Sprinkle with reserved Oreo crumbs before the coating sets.
- Set & serve
- Refrigerate for at least 30 minutes to allow the coating to firm up.
- Serve chilled.
Storage: Keep in an airtight container in the refrigerator for up to 1 week, or freeze for up to 2 months.

Gathering Tools
Perfecting your autumn treats starts with quality components.
Let’s break down what you’ll need to create these crowd-pleasing bites without last-minute grocery runs.
Pantry Staples and Special Ingredients
Start with one package of cookies. Classic, golden, or seasonal varieties work, so whatever you prefer will work out beautifully.
Full-fat cream cheese is non-negotiable for that velvety texture. Let it soften on the counter for smoother blending.
For coatings, white chocolate melts evenly, but vanilla almond bark offers a sweeter finish in case you want to go that way.
For extra autumn flair add a teaspoon of spice blend or a dollop of puree to the mix.
Essential Kitchen Equipment
A food processor crushes cookies into fine crumbs quickly.
No processor? No problem.
Seal them in a bag and roll with a pin. Line trays with parchment paper to prevent sticking during chilling.
Keep melted coatings smooth using a double boiler or microwave-safe bowl.
A chocolate warmer helps maintain the ideal dipping consistency, but it’s optional.
You’ll also need spoons or forks for coating and a fridge to set everything.

Creative Twists and Serving Suggestions
Elevate your dessert game with these imaginative ideas that transform basic bites into seasonal showstoppers.
Whether hosting a party or crafting edible gifts, these adaptations add personality to every plate.
Variations You Can Try
Swap classic cookies for limited-edition flavors like golden vanilla or peppermint-filled varieties.
For autumn-themed truffles, mold mixtures into pumpkin shapes using orange candy melts and pretzel stick stems.
Create texture contrast by rolling chilled pieces in crushed graham crackers or toasted pecans.
Infuse fall flavors by mixing a pinch of cinnamon or nutmeg into your coating chocolate.
Try dipping half of each piece in white chocolate and half in dark for a marbled effect.
These tweaks let you customize treats for different occasions without extra effort.
Presentation and Party Ideas
Arrange your creations on tiered cake stands with maple leaves or mini gourds as decor.
For Halloween gatherings, use black-and-orange sprinkles and serve alongside caramel apples.
Package individual pieces in clear bags tied with burlap ribbons for charming party favors.
Create a dessert bar with multiple coating options and toppings for guests to customize their own.
Store extras in airtight containers for up to five days. They taste best when chilled.
For large events, double the recipe and freeze portions until needed.
A fun dessert to make in the fall.
Whip up a dessert that’s as fun to make as it is to eat.
This no-fuss recipe delivers rich flavors and eye-catching results without baking expertise.
Store your creations in airtight containers for quick snacks or freeze them for future celebrations.
Autumn’s festive spirit shines through these adaptable bites.
Swap coatings between dark and white chocolate, or add festive sprinkles for holiday flair.
They’ll stay fresh refrigerated for five days, making them perfect for advance prep before gatherings.
First-time cooks and seasoned bakers alike love how easily these treats come together.
The basic formula welcomes endless variations, letting you match flavors to any occasion.
Package them in gift bags with ribbon for edible favors guests will rave about.
Keep this recipe handy for last-minute events or cozy nights in.
Once you taste the creamy filling and crunchy coating, you’ll understand why it’s become a fall favorite.
Ready to impress? Your dessert game just got sweeter.
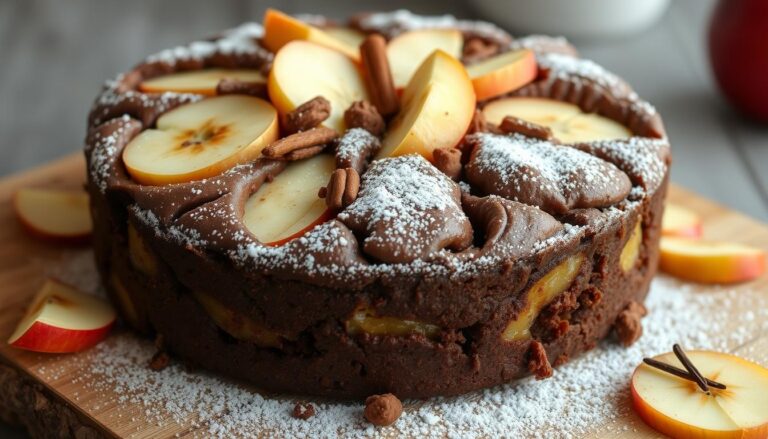
And if you are looking for other no-bake fall desserts, take a look at our Apple Nachos with White Chocolate Drizzle recipe.
FAQ
Can I substitute the cream cheese in this recipe?
For best results, stick with full-fat cream cheese—it binds the mixture better. If you need a dairy-free option, try blended cashews or vegan cream cheese, but the texture may vary slightly.
What if I don’t have a food processor?
Crush the cookies in a sealed bag with a rolling pin until finely ground. Mix everything in a bowl by hand—just make sure the cream cheese is softened for easier blending.
How long do these treats stay fresh?
Store them in an airtight container in the fridge for up to 5 days. For longer storage, freeze undipped truffles for up to 2 months and coat them in melted candy melts before serving.
Can I make these nut-free for allergies?
Absolutely! Skip any nut-based toppings, and ensure your candy melts or chocolate brands are certified nut-free. Always check labels to confirm.
Why won’t my coating stick evenly?
If the melted candy or chocolate is too thick, stir in 1 tsp of coconut oil to thin it. Let chilled truffles sit at room temperature for 5 minutes before dipping to prevent cracking.
Can I use white chocolate instead of orange candy melts?
Yes! Melted white chocolate works beautifully. Add a drop of orange food coloring or keep it classic—either way, they’ll taste delicious.
How far in advance can I prepare these for a party?
Assemble them 1-2 days ahead and refrigerate. Add sprinkles or decorations just before serving to keep them vibrant and crisp.
Are these too sweet for kids?
The pumpkin spice and cream cheese balance the sweetness. For a milder flavor, reduce the crushed cookies by ¼ cup or use dark chocolate for coating.