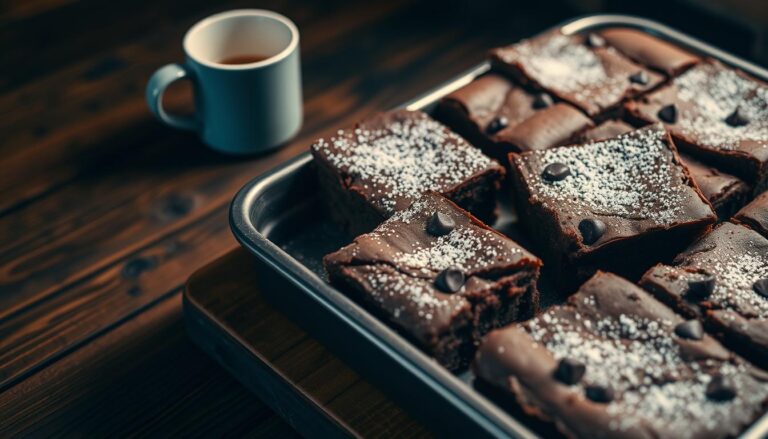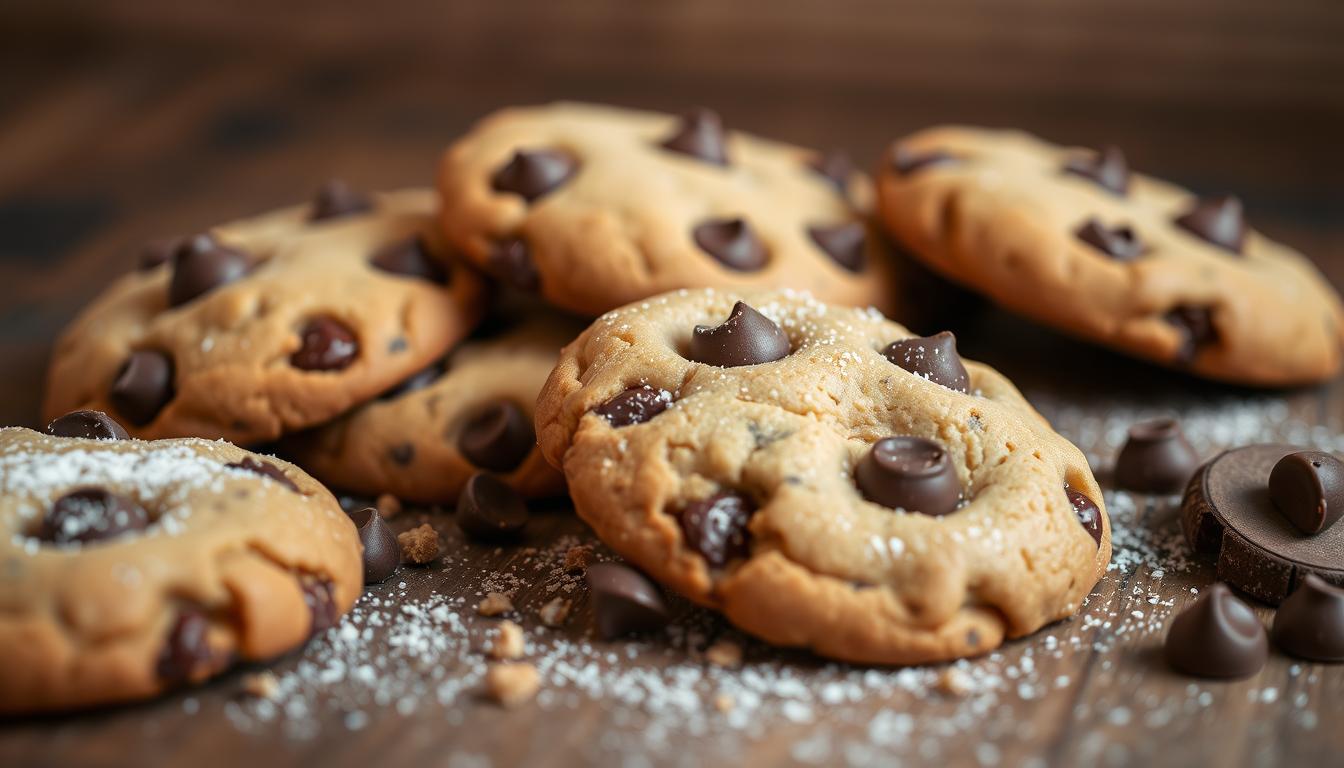
The Easiest Brown Butter Chocolate Chip Cookies You’ll Ever Make
What’s the secret to elevating the classic butter chocolate chip cookie to a whole new level of flavor and sophistication?
Can you take a beloved favorite and turn it into a nutty, caramel-like masterpiece that will leave everyone begging for more?
The answer lies in a simple tweak to the process!
By simply browning the butter in your cookie dough, you can add a rich, deep flavor that perfectly complements the sweetness of the chocolate.
In this article, we’ll show you how to make irresistible Brown Butter Chocolate Chip Cookies that are sure to become a new favorite.
With their perfectly balanced flavor and chewy texture, these cookies are perfect for snacking, gift-giving, or enjoying with a cold glass of milk.
You don’t need professional skills to master these, yet your friends will swear you bought them from a patisserie.
Key Takeaways
- Brown butter adds complex caramelized notes that regular versions can’t match
- Precision ingredient ratios create the ideal crisp-edge-to-chewy-center balance
- Reduced sugar prevents oversweetness while improving texture during baking
- High-quality dark chocolate chunks melt into decadent pockets of richness
- Simple techniques deliver bakery-quality results for home cooks
🍪 Brown Butter Chocolate Cookies Recipe
Here’s a delicious, precise, and easy recipe for making Brown Butter Chocolate Cookies:
Yields: 18–20 cookies
🕒 Prep Time: 20 minutes | Chill Time: 30 minutes | Bake Time: 10–12 minutes
Ingredients:
- 1 cup (226 g) salted butter
- 1 cup (200 g) packed light brown sugar
- 1/2 cup (100 g) granulated sugar
- 2 large eggs (room temperature)
- 2 tsp pure vanilla extract
- 2 1/4 cups (280 g) all-purpose flour
- 1 tsp baking soda
- 1/2 tsp salt
- 1 1/2 cups (255 g) semisweet or dark chocolate chips or chunks
Step-by-Step Instructions:
1. Brown the Butter:
- In a medium saucepan over medium heat, melt the butter.
- Continue cooking, stirring frequently. After 5–7 minutes, it will foam and then turn golden with brown specks at the bottom and a nutty aroma.
- Remove from heat and pour into a heatproof bowl. Let cool for 10–15 minutes.
2. Mix Wet Ingredients:
- In a large mixing bowl, combine the browned butter, brown sugar, and granulated sugar.
- Whisk until well blended (about 1–2 minutes).
- Add eggs and vanilla; mix until smooth and glossy.
3. Combine Dry Ingredients:
- In a separate bowl, whisk together flour, baking soda, and salt.
- Gradually stir the dry mixture into the wet mixture using a spatula or mixer on low speed until fully incorporated.
4. Add Chocolate:
- Fold in the chocolate chips/chunks until evenly distributed.
5. Chill the Dough:
- Cover the bowl and refrigerate the dough for at least 30 minutes (or up to 24 hours for deeper flavor).
6. Preheat Oven & Prep:
- Preheat oven to 350°F (175°C).
- Line baking sheets with parchment paper.
7. Scoop and Bake:
- Scoop 2-tablespoon portions of dough (use a cookie scoop if available) and place on baking sheets, spacing them about 2 inches apart.
- Bake for 10–12 minutes, until edges are golden and centers are just set.
8. Cool & Enjoy:
- Let cookies cool on the baking sheet for 5 minutes before transferring to a wire rack.
Pro Tips:
- For gooey centers, slightly underbake and allow to finish setting while cooling.
- Sprinkle a little flaky sea salt on top before baking for a sweet-salty finish.

Introduction to an Irresistible Cookie Experience
Picture a treat that redefines your expectations with its golden glow and toasted aroma.
These baked goods blend artisanal flair with homemade warmth, creating layers of flavor that evolve as you savor them.
The secret? A technique that transforms basic dough into something extraordinary through careful attention to detail.
Your first glance reveals a caramelized crust that whispers of complexity.
Bite through the crisp exterior to discover a dense, chewy heart that holds its shape without crumbling.
This contrast isn’t accidental, it’s the result of precise ingredient ratios and methodical preparation.
Three elements make this recipe unforgettable:
- Aromatic depth from carefully caramelized dairy.
- Textural harmony between crackly edges and pillowy centers.
- Flavor balance that highlights rich notes without overpowering sweetness.
These treats work equally well for Tuesday snacks or dinner parties.
The dough’s nuanced taste comes alive during baking, developing toasted undertones that linger on your tongue.
Professional chefs swear by this approach, and now you can taste why.
Related Article: Learn to make the perfect cookie for the Fall season.
Understanding the Science Behind Brown Butter
Ever wonder why your baked goods gain that irresistible aroma?
It all starts with a chemical transformation. When heat meets dairy fat, magic happens through controlled caramelization.
The Role of the Maillard Reaction
This flavor alchemy occurs when proteins and sugars in dairy interact at high heat.
As water evaporates, milk solids reach 250°F-300°F. This triggers reactions creating 400+ new compounds. Think toasted nuts and caramelized sugar.
| Component | Regular Butter | Brown Butter |
|---|---|---|
| Milk Solids | Intact proteins | Caramelized clusters |
| Flavor Profile | Mild creaminess | Nutty depth |
| Water Content | 16-18% | 0-2% |
| Usage in Baking | Adds moisture | Boosts complexity |
How Browning Enhances Flavor
Watch closely as golden specks form as they signal flavor development.
The process takes 5-8 minutes once melted.
Stop when it smells like hazelnuts to prevent burning.
This technique transforms ordinary dough into something extraordinary.
Your treats will develop crisp edges and chewy centers naturally.
Proper temperature control ensures consistent results every time.
Raw Materials and Their Roles
Each component in your dough plays a vital role in the final masterpiece.
From the type of sweetener to the quality of cocoa, every choice impacts texture and taste.
Let’s break down how these elements work together to create something extraordinary.
Why Each Component Matters
While some recipes recommend unsalted butter we recommend you go with salted butter for flavor enhancement.
Browning it unlocks nutty depths that regular versions can’t match.
The combination of granulated and light brown sugars isn’t arbitrary. It’s science.
White sugar promotes caramelization for crisp edges, while brown sugar’s moisture keeps centers soft.
Eggs bind everything without making treats dense.
| Ingredient | Function | Result |
|---|---|---|
| Salted Butter | Develops nutty richness | Complex base flavor |
| Granulated Sugar | Promotes caramelization | Crispy edges |
| Light Brown Sugar | Retains moisture | Chewy interior |
| All-Purpose Flour | Provides structure | Perfect chew |
| Dark Chocolate Chunks | Melts evenly | Luxurious texture |
Pure vanilla extract acts as a flavor amplifier, not just an add-on.
Salt does double duty. It heightens caramel notes and balances sweetness. Premium dark chocolate chunks melt into glossy pools, unlike waxy chips.
All-purpose flour (a key dry ingredient) gives just enough structure without compromising tenderness.
Together, these elements create harmony in every bite.

The Secret to Perfect Butter Chocolate Chip Cookies
Ever tasted a treat where every bite whispers caramelized secrets?
The magic lies in letting browned dairy fat lead the flavor orchestra.
Unlike standard recipes, this version reduces sugar to let toasted notes sing while maintaining structural integrity through precise ingredient ratios.
| Factor | Regular Cookies | Brown Butter Version |
|---|---|---|
| Sugar Content | High (balances moisture) | Reduced (highlights nuttiness) |
| Fat State | Solid butter | Caramelized oil |
| Flavor Depth | Single-note sweetness | Layered toasty richness |
| Texture Profile | Uniform softness | Crisp edges + chewy core |
Salted dairy does double duty here. Its inherent richness amplifies the caramelized depth without overwhelming your palate.
You’ll notice how the dough spreads just enough during baking to create those signature ridges and valleys.
Why does this recipe work so well? The flour-to-fat ratio prevents cakiness while allowing proper browning.
Dark cocoa nibs melt into velvety pools that contrast beautifully with the toasted base. Each component exists to support, never compete.
Mastering this balance means understanding heat’s role in flavor development. Your golden-edged creations will stay soft for days thanks to retained moisture from smart sugar choices. It’s not baking—it’s edible chemistry made simple.
The Importance of Chilling and Resting the Dough
Why does resting dough matter more than you think?
That waiting period lets flavors deepen while the mixture firms up. Skipping this step often leads to flat, overly sweet treats that spread too quickly in the oven.
Chilling your mixture for at least 30 minutes allows sugars to absorb moisture evenly. This creates a balanced texture. Crisp edges hugging soft centers.
Use your freezer for a 15-minute shortcut if you’re pressed for time.
During the rest, gluten relaxes and fats solidify slightly. This teamwork prevents cakiness while helping your baked goods hold their shape.
Cold dough caramelizes better, enhancing those toasted notes you worked hard to develop.
Patience rewards you with treats that look professional and taste complex.
The extra time lets ingredients harmonize, turning simple components into something extraordinary. Remember: good things come to those who wait (and chill).
And now that you have the one-of-a-kind cookie, why not learn to make a special kind of hot cocoa too?
Check out the recipe for our richest hot chocolate.
FAQ
Can I use regular melted butter instead of browned butter?
While you can substitute melted butter, browning it adds a deeper, nutty flavor thanks to the Maillard reaction. This step elevates the taste profile, making it worth the extra few minutes!
How do I prevent the butter from burning during browning?
Use a light-colored pan to monitor color changes easily. Stir constantly on medium heat, and remove it from the stove once it turns golden amber. Letting it cool slightly before mixing ensures it won’t overcook.
Why does the dough need to chill before baking?
Resting allows the flavors to meld and the flour to hydrate fully. It also prevents overspreading, giving your treats a thicker, chewier texture. If you’re in a hurry, 30 minutes in the freezer helps!
Can I substitute dark brown sugar for light brown sugar?
Yes! Dark brown sugar adds more molasses, creating a richer taste and softer texture. For a lighter flavor, stick with light brown sugar—both work well depending on your preference.
My cookies spread too much. What did I do wrong?
Overly soft dough or warm ingredients can cause this. Ensure your browned butter cools to room temp before mixing, and chill the dough thoroughly. Using a scoop to portion evenly also helps control spreading.
How long can I store the dough in the fridge or freezer?
Dough keeps in the fridge for up to 3 days or in the freezer for 2 months. Freeze portioned balls on a parchment-lined sheet, then transfer to a sealed bag. Bake straight from frozen—just add 1-2 extra minutes!
What’s the best way to achieve a crispy edge and chewy center?
The combo of granulated and brown sugars is key. Brown sugar adds moisture for chewiness, while granulated sugar promotes crispness. Pull them out when the edges are golden but the center still looks slightly underdone.