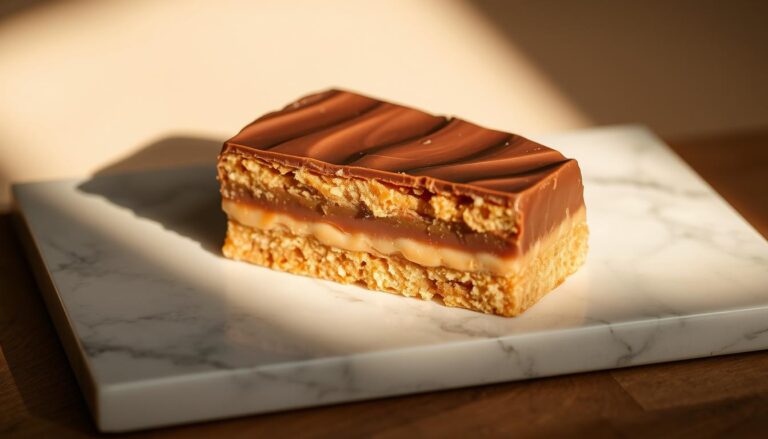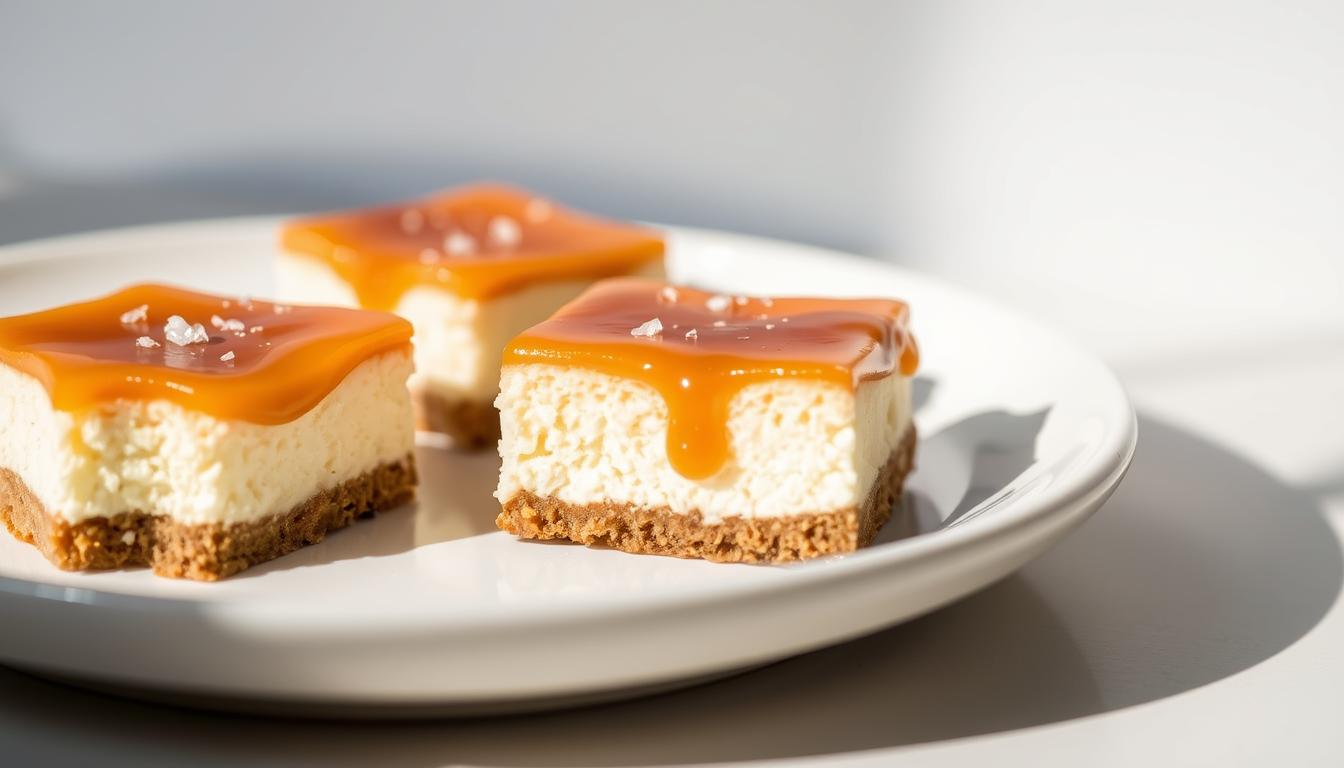
Salted Caramel and Chocolate Cheesecake Bites
Imagine a treat that combines creamy rich, decadent flavors in a perfectly personal portion. That’s what salted caramel and chocolate cheesecake bites are about.
These mini delights deliver all the elegance and satisfaction you crave in a single, irresistible bite.
You get the perfect harmony of a buttery crust, a smooth filling, and a delightful topping.
The result is a balance of sweet and salty that feels both sophisticated and simple to create.
This dessert is incredibly versatile. You can make them for a fancy party or a quiet night in.
They fit any occasion and any kitchen, using equipment you likely already own.
Best of all, there’s no complicated process. Forget about water baths or trying to slice a perfect piece.
These individual portions are fuss-free and designed for pure enjoyment.
So, are you ready to get started?
Let’s do it, then!
Key Takeaways
- Enjoy the rich flavor of a full-sized dessert in a convenient, single-serving portion.
- Perfect for entertaining or satisfying a personal craving without any waste.
- Simple to make with basic kitchen tools like a muffin tin or small cups.
- Avoid the complexity of traditional baking methods.
- The flavor profile masterfully balances sweet, salty, and rich elements.
- Ideal for making ahead of time for events or busy schedules.
- Offers complete control over serving sizes for any gathering.
Recipe for Salted Caramel & Chocolate Cheesecake Bites
Here is the recipe for Salted Caramel & Chocolate Cheesecake Bites which are rich, creamy, bite-sized treats perfect for winter holiday platters, dessert tables, or gifting.
Yield: 24–30 bites (depending on mold size)
Ingredients
Chocolate Crust
- 1 ½ cups (150 g) chocolate cookie crumbs (Oreo crumbs or similar)
- 4 tablespoons (56 g) unsalted butter, melted
- Pinch of fine sea salt
Cheesecake Filling
- 12 oz (340 g) cream cheese, softened to room temp
- ⅓ cup (67 g) granulated sugar
- 1 large egg (50 g), room temp
- 1 teaspoon (5 ml) vanilla extract
- ¼ cup (60 g) sour cream, room temp
- 2 tablespoons (30 ml) salted caramel sauce (store-bought or homemade)
Salted Caramel Layer
- ½ cup (120 g) salted caramel sauce
Chocolate Ganache Topping
- 4 oz (115 g) semisweet chocolate, finely chopped
- ¼ cup (60 ml) heavy cream
- 1 tablespoon (14 g) unsalted butter
Optional Garnishes
- Flaky sea salt
- Mini chocolate curls
- Crushed toasted pecans
Instructions
Prepare the Pan
You may use:
- A 24-count mini cheesecake pan, or
- A mini muffin tin with liners (recommendation: foil liners for clean release).
Lightly grease the pan if not using liners.
Preheat oven to 325°F (163°C).
Make the Chocolate Crust
- In a bowl, combine:
- 1 ½ cups chocolate cookie crumbs
- 4 tbsp melted butter
- Pinch of salt
- Mix until the texture resembles wet sand.
- Add 1 tablespoon (about 12 g) of crust mixture into each cavity.
Press firmly using the back of a spoon or a tart tamp. - Bake crusts for 5 minutes, then cool while preparing filling.
Prepare the Cheesecake Filling
- Beat softened cream cheese on medium speed until completely smooth (about 2 minutes).
- Add granulated sugar and mix until fully incorporated.
- Add egg and vanilla; mix on low until just combined (avoid overbeating).
- Add sour cream and 2 tbsp salted caramel sauce.
Fold gently until smooth and uniform.
Fill and Bake
- Spoon cheesecake filling over crusts—about 1 tablespoon (18–20 g) per cavity, filling each ¾ full.
- Tap the pan gently to release air bubbles.
- Bake at 325°F (163°C) for 12–15 minutes, or until:
- Centers are slightly jiggly
- Edges are set
- Cool in the pan for 20 minutes, then refrigerate 1 hour before topping.
Add the Salted Caramel Layer
- Warm ½ cup salted caramel sauce slightly (10–15 seconds) so it’s spreadable, not hot.
- Spoon ½–1 teaspoon of caramel onto each cheesecake bite.
Spread gently to cover the top. - Refrigerate 10 minutes to firm the caramel before adding chocolate.
Make the Chocolate Ganache Topping
- Heat heavy cream in the microwave (20–25 seconds) until steaming, not boiling.
- Pour cream over the chopped chocolate.
- Wait 1 minute, then stir until fully melted and smooth.
- Add butter and stir to emulsify.
Finish the Bites
- Spoon ½ teaspoon ganache onto each caramel layer.
Swirl or smooth the tops. - Optional: Add flaky sea salt, chocolate curls, or toasted pecans before ganache sets.
- Refrigerate at least 1 hour before serving for best texture.
Storage
- Refrigerator: 5–6 days in an airtight container
- Freezer: Up to 2 months (thaw in fridge for 4–6 hours before serving)

Introduction to a Decadent Dessert
There’s a secret to creating bakery-quality treats that will impress everyone without the typical kitchen stress.
These individual portions deliver professional results using basic equipment you already own.
Discovering the Perfect Bite
The concept of the perfect bite means every element comes together harmoniously. You experience the full flavor profile in just one or two satisfying mouthfuls.
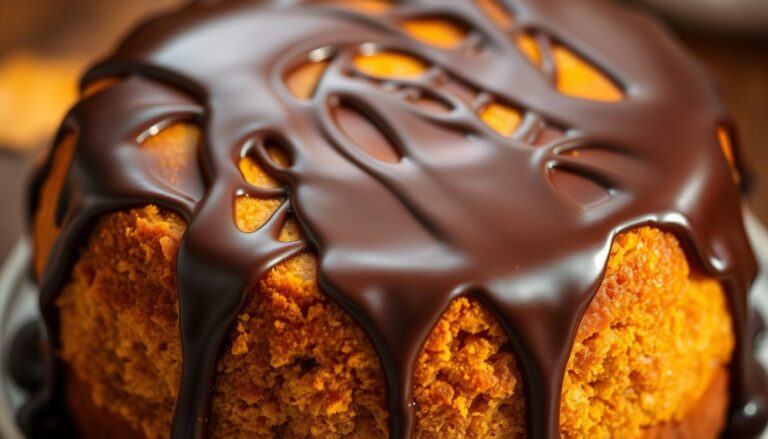
An example of this could be our delightful Chocolate Cake Ball Drops.
This approach eliminates the need for complicated slicing or serving tools. Each portion is perfectly sized for immediate enjoyment.
| Feature | Traditional Dessert | Mini Version |
|---|---|---|
| Preparation Time | Often requires hours | Quick and efficient |
| Serving Complexity | Needs careful slicing | Ready-to-serve portions |
| Equipment Needed | Special pans and tools | Basic muffin tin or cups |
| Portion Control | Difficult to manage | Perfect individual sizes |
What Makes This Recipe Special
This approach removes common baking anxieties like water baths and cracking concerns. The topping naturally covers any imperfections beautifully.
You’ll appreciate how this method respects your time while delivering impressive results. The combination of rich flavors creates something truly memorable.
These mini creations work for any occasion throughout the year. They bring cozy comfort while maintaining an elegant presentation.
Salted Caramel Cheesecake Bites Recipe Overview
Each component in these mini delights plays a crucial role in creating a harmonious taste experience.
It’s not just about sweetness, but a thoughtful combination that delights your palate.
Understanding the Flavor Balance
The tangy freshness of the cream cheese filling is the perfect foundation. It provides a bright contrast that keeps the overall flavor from being too heavy.
This base beautifully complements the deep, rich notes of the caramel sauce. The slight bitterness in a well-made caramel adds a layer of sophistication.
A final sprinkle of flaky salt is the secret weapon. It creates little bursts of flavor that elevate every element in your caramel cheesecake.
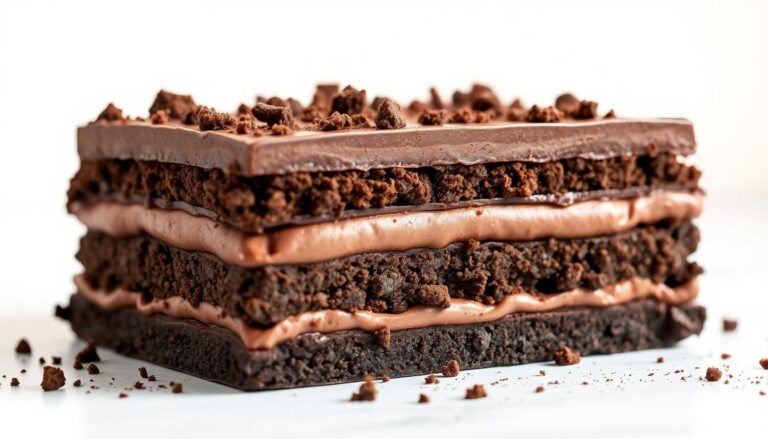
The texture is just as important as the taste. You get a satisfying crunch from the crust against the ultra-silky, creamy filling.
It feels like a complete experience in one small treat.

Essential Components & Tools
Your journey to perfect, individual desserts starts with a well-stocked pantry and a few key utensils.
Using the right components makes the process smooth and guarantees a fantastic result.
Quality ingredients are the foundation of a great treat. Let’s break down what you’ll need.
Key Components: Cream Cheese, Oreo Cookies & More
Start with full-fat, brick-style cream cheese. Let it warm up on the counter first. Cold cream cheese can cause lumps in your filling.
For the crust, Oreo cookies are a classic choice. Biscoff cookies make a wonderful alternative. They add a warm, spiced flavor that pairs beautifully.
Your filling needs a few other items. Gather sugar, sour cream, eggs, flour, a pinch of salt, and vanilla extract. Room-temperature eggs blend more easily.
Always use real butter. It makes a noticeable difference in both flavor and texture.
Must-Have Kitchen Tools for Success
The right equipment simplifies everything. You likely own most of these items already.
A standard muffin tin with paper liners works perfectly. A dedicated mini cheesecake pan is also great. For a no-bake option, use small dessert cups.
A food processor creates fine crumbs for your crust quickly. No processor? A rolling pin and a zip-top bag work well too.
A stand mixer with a paddle attachment is ideal for a smooth filling. An electric hand mixer is a good substitute. Use a rubber spatula to scrape the bowl often.
| Ingredient | Key Purpose | Pro Tip |
|---|---|---|
| Cream Cheese | Provides the creamy, rich base for the filling. | Must be full-fat and at room temperature for a smooth texture. |
| Oreo Cookies | Forms the crunchy, buttery foundation of the crust. | Crush into very fine crumbs for a firm base that holds together. |
| Butter | Binds the crust ingredients and adds flavor. | Use melted, real butter for the best results. |
| Eggs | Gives structure to the filling so it sets properly. | Bring to room temperature before mixing for even incorporation. |

Mastering Your Salted Caramel Sauce
The crowning glory of your dessert creation lies in mastering that perfect drizzle of golden sweetness.
This final touch brings everything together with its rich flavor and beautiful presentation.
Homemade vs. Store-Bought Options
You have two excellent paths for your topping. Making it from scratch gives you complete control over flavor and texture.
You can adjust the saltiness and sweetness to match your personal taste.
Quality store-bought versions offer wonderful convenience. They save significant preparation time while still delivering great results.
Both options work beautifully for finishing your individual desserts.
Tips to Achieve the Perfect Consistency
Your sauce should be thick enough to coat a spoon but still pour smoothly.
If it becomes too thick after refrigeration, gentle reheating for 10-15 seconds restores the ideal texture.
When making homemade versions, use warm cream rather than cold. This prevents graininess and ensures a silky smooth result.
Patience during the sugar melting process is crucial for success.
Always taste and adjust seasoning gradually. Start with less salt, then add more until you achieve that perfect sweet-salty balance.
The vanilla extract adds wonderful depth to the finished product.
Mini Desserts that Mega Impress
Your baking journey has reached a delicious destination with these impressive yet simple treats.
You’ve mastered creating professional-quality mini desserts using basic kitchen tools.
The beauty of this recipe lies in its incredible flexibility. You can adapt the flavors to suit any occasion or personal preference.
The individual portions make serving effortless.
Remember the key techniques you’ve learned for perfect results every time. Your confidence will grow with each batch you create.
Want another mini-dessert alternative for your end-of-year festivities?
Then take a look at our recipe to make Peppermint Bark Cheesecake Cups.
FAQ
Can I make these treats ahead of time?
Absolutely! These little desserts are great for preparing in advance. You can store the assembled bites in an airtight container in the refrigerator for up to three days. The flavors actually get better as they sit.
What’s the best way to get them out of the muffin tin?
Running a small knife around the edge of each cup after they have cooled completely is the key. This helps loosen the crust. Then, you can gently lift them out.
My cream cheese mixture is lumpy. How can I fix it?
Make sure your cream cheese is at room temperature before you start. This is the most important step for a smooth filling. If you still get lumps, a quick mix with an electric mixer on low speed should smooth it right out.
Can I use a different type of cookie for the crust?
Of course! While graham cracker crumbs are classic, you can experiment. Try using crushed vanilla wafers, digestive biscuits, or even chocolate cookie crumbs for a different flavor.
Is there a way to make this recipe without an oven?
Yes, you can create a no-bake version. For the crust, you would still press the crumb mixture into the pan and chill it. For the filling, you would use gelatin to set the cream cheese mixture instead of baking it. The assembly with the sauce and topping remains the same.
How do I prevent the caramel sauce from making the top soggy?
The secret is to let the baked and cooled mini cheesecakes set completely before you add the sauce. This gives the filling time to firm up, creating a barrier so the caramel sits nicely on top without soaking in too much.