5-Ingredient Copycat Ferrero Rocher
What’s the secret to creating a copycat Ferrero Rocher that is a luxurious, chocolate-hazelnut treat using simple ingredients?
Can you really replicate the creamy hazelnut center, crunchy wafer shell, and rich chocolate coating with just a handful of simple ingredients?
The answer is yes, and we’re about to show you how!
With our easy-to-follow recipe, you’ll be amazed at how just 5 ingredients can come together to create a deliciously authentic replica of this beloved Italian treat.
In this article, we’ll guide you through the simple process of making these indulgent chocolate truffles at home.
They are perfect for snacking, gift-giving, or impressing your friends and family.
Key Takeaways
- Recreate a globally loved chocolate treat using basic ingredients
- Customize for dietary needs (vegan, gluten-free, reduced sugar)
- Save money compared to store-bought versions
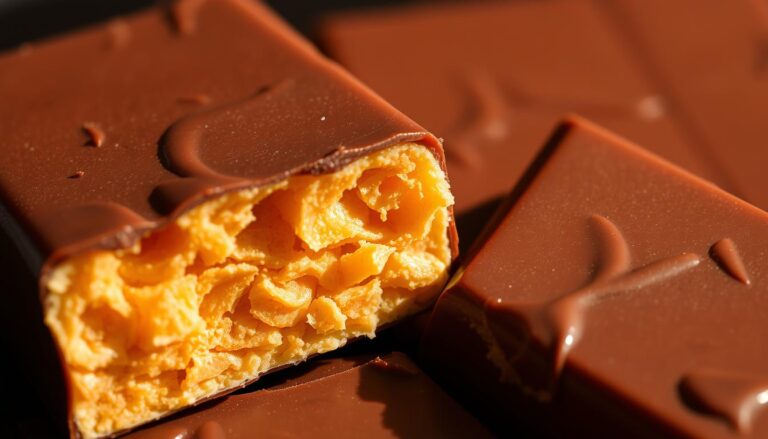
- Master the layered texture: crispy, creamy, and crunchy
- Perfect for gifting or special occasions
- Simple process with no baking required
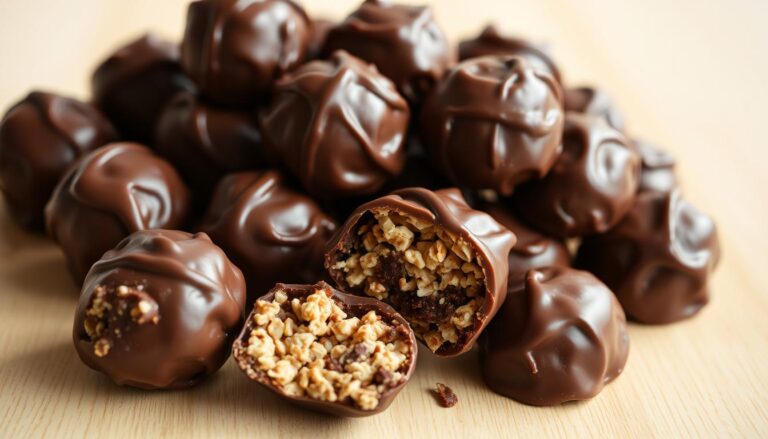
🍫 Easy 5-Ingredient Copycat Ferrero Rocher
Here’s a simple and delicious 5-ingredient copycat Ferrero Rocher recipe that captures the crunchy, creamy, nutty essence of the original:
Ingredients (makes about 15 truffles):
- 1 cup (250g) chocolate hazelnut spread (like Nutella)
- 1 ½ cups (120g) crushed hazelnut wafers (or any crispy wafer cookies)
- 15 whole hazelnuts, roasted and peeled
- 1 ½ cups (200g) milk chocolate, chopped or chips
- ½ cup (60g) finely chopped hazelnuts, toasted
Step-by-Step Instructions:
- Mix the filling:
In a bowl, combine 1 cup hazelnut spread with 1 cup crushed hazelnut wafers. Mix until a soft, moldable dough forms. - Form the truffle centers:
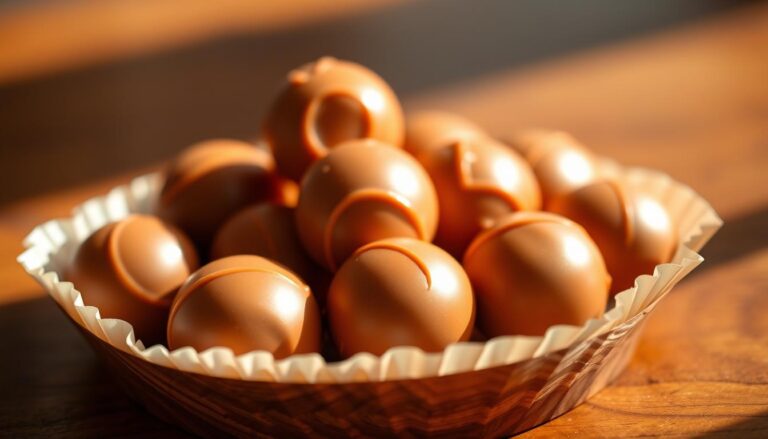
Scoop out 1 tablespoon of the mixture, press a whole hazelnut into the center, and roll into a smooth ball. Repeat with the rest of the mixture.
Freeze for 20–30 minutes, or until firm. - Coat with hazelnuts:
Roll each ball in the ½ cup chopped hazelnuts, pressing gently so they stick. - Melt the chocolate:
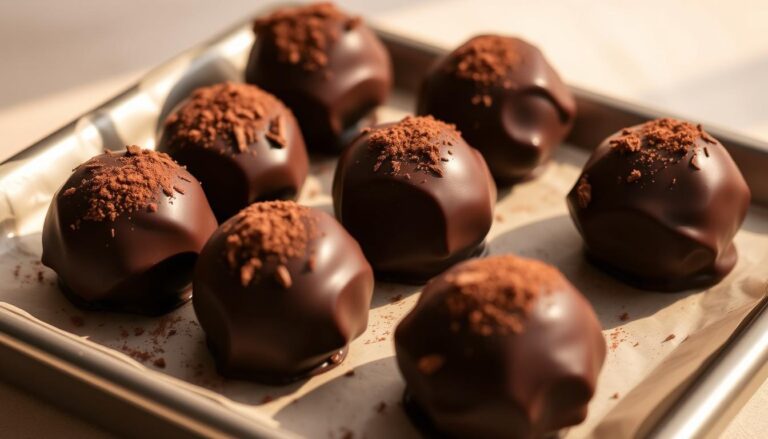
Melt 1½ cups milk chocolate using a microwave (in 20-second bursts, stirring in between) or a double boiler until smooth. - Dip the truffles:
Using a fork or dipping tool, dip each ball into the melted chocolate. Let excess drip off, then place on parchment paper. - Set and serve:
Let the truffles sit at room temperature or refrigerate for 15 minutes until the chocolate shell hardens.
Pro Tips:
- Store in an airtight container in the fridge for up to 1 week.
- For extra richness, drizzle with melted dark chocolate.
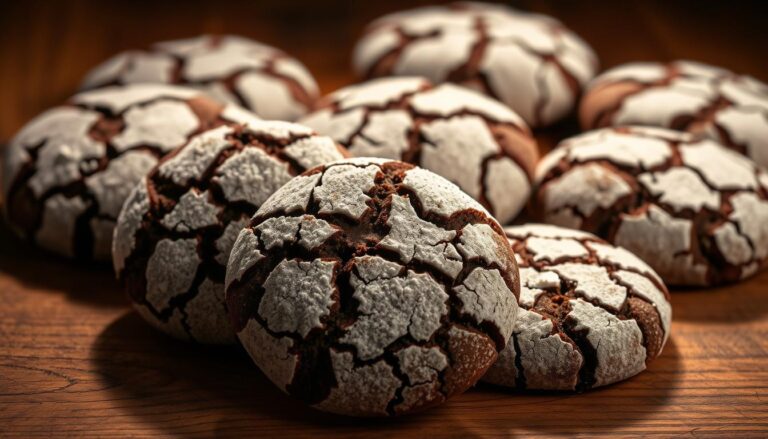
If you are a true fan of Ferrero Rocher you must check out this chocolate truffles article.
Shop this Recipe
|
Mixing Bowl |
|
|
Microwave |
|
|
Double Boiler |
|
|
Chocolate Dipping Tool |
|
|
Airtight Container |
Note: Chocolate Candy Kitchen actively partners up with reputable brands to promote useful, quality products.
Some or all of the links above may be affiliate links that generate a small revenue for CCK when you buy through them. Thank you for supporting our blog.

Introduction & The Charm of Homemade Ferrero Rocher
Social media is buzzing with a DIY version of a classic favorite that’s simpler than you’d expect.
This homemade delight captures the essence of golden-wrapped store-bought candies while letting you skip artificial additives.
Whether you’re craving nostalgia or exploring dietary alternatives, this recipe bridges indulgence and mindful eating.
Discovering the Viral Favorite
Food creators have cracked the code to recreating that iconic layered texture.
The blend of roasted nuts, creamy centers, and crisp coatings delivers satisfaction in every bite.
What makes it stand out? You control the quality. From organic chocolate to unrefined sweeteners.
Why You’ll Love This Recipe
These bites solve three common problems: cost, customization, and dietary needs.
- A batch costs less than premium store options.
- Swap dairy for coconut oil or use gluten-free crispy rice.
- Adjust cocoa percentages to balance sweetness and richness.
Many describe the chocolate-hazelnut combo as “irresistible yet guilt-free” when made with wholesome ingredients.
It’s a project that feels fancy but requires no special skills.
Plus, gifting these golden spheres feels personal. It’s like sharing edible confetti.
Raw Materials & Nutritional Benefits
Unwrapping the secret to gourmet truffles starts with nature’s pantry staples.
These five components work overtime, delivering rich flavors while packing surprising health perks.
Let’s break down why each element matters.
Hazelnuts, Cacao, and More
Raw hazelnuts form the recipe’s crunchy heart.
These nuts bring healthy fats and vitamin E, which is great for skin and immunity. A single ounce offers 4g protein and 2.7g fiber, keeping you satisfied longer.
Unsweetened cocoa powder steals the show with antioxidants called flavanols.
Studies show they may lower blood pressure and improve circulation. Combined with dark chocolate’s mood-boosting compounds, this duo creates guilt-free indulgence.
Ingredient Substitutions and Health Perks
Allergic to hazelnuts? Try almond butter for similar creaminess.
Need vegan options? Swap honey for maple syrup. These tweaks keep the recipe inclusive without sacrificing texture.
For extra crunch, mix in gluten-free rice crisps.
Want less sugar? Use 85% dark chocolate. Every swap tailors nutrition – more fiber here, less sweetener there.
Quality matters. Organic cocoa retains more nutrients. Fresh-roasted nuts maximize flavor.
Your choices directly impact both taste and health benefits, making each batch uniquely nourishing.

Copycat Ferrero Rocher: Mastering the Art
Elevate your chocolate-making skills with techniques used by pastry chefs.
These methods transform simple ingredients into glossy, snap-worthy confections worthy of luxury dessert boxes.
Insider Hacks for a Restaurant-Quality Treat
Premium chocolate makes all the difference.
Brands like Valrhona or Callebaut melt smoothly and set with a crisp finish. Tempering ensures your coating stays shiny and fingerprint-resistant.
Try this three-step layering method:
- Dip chilled centers in melted chocolate
- Roll in chopped hazelnuts while wet
- Apply final tempered coating with a fork
| Chocolate Type | Melting Point | Best Use |
|---|---|---|
| Dark (70%) | 118°F | Base layer |
| Milk | 113°F | Final coating |
| White | 110°F | Decorative drizzle |
Keep ingredients between 65-70°F during assembly. This prevents melting and ensures layers adhere properly.
Store finished pieces in airtight containers lined with parchment paper.
For lasting freshness, refrigerate up to 14 days. Let truffles rest at room temperature 10 minutes before serving.
The gradual warming preserves that satisfying crunch contrasting with the creamy center.
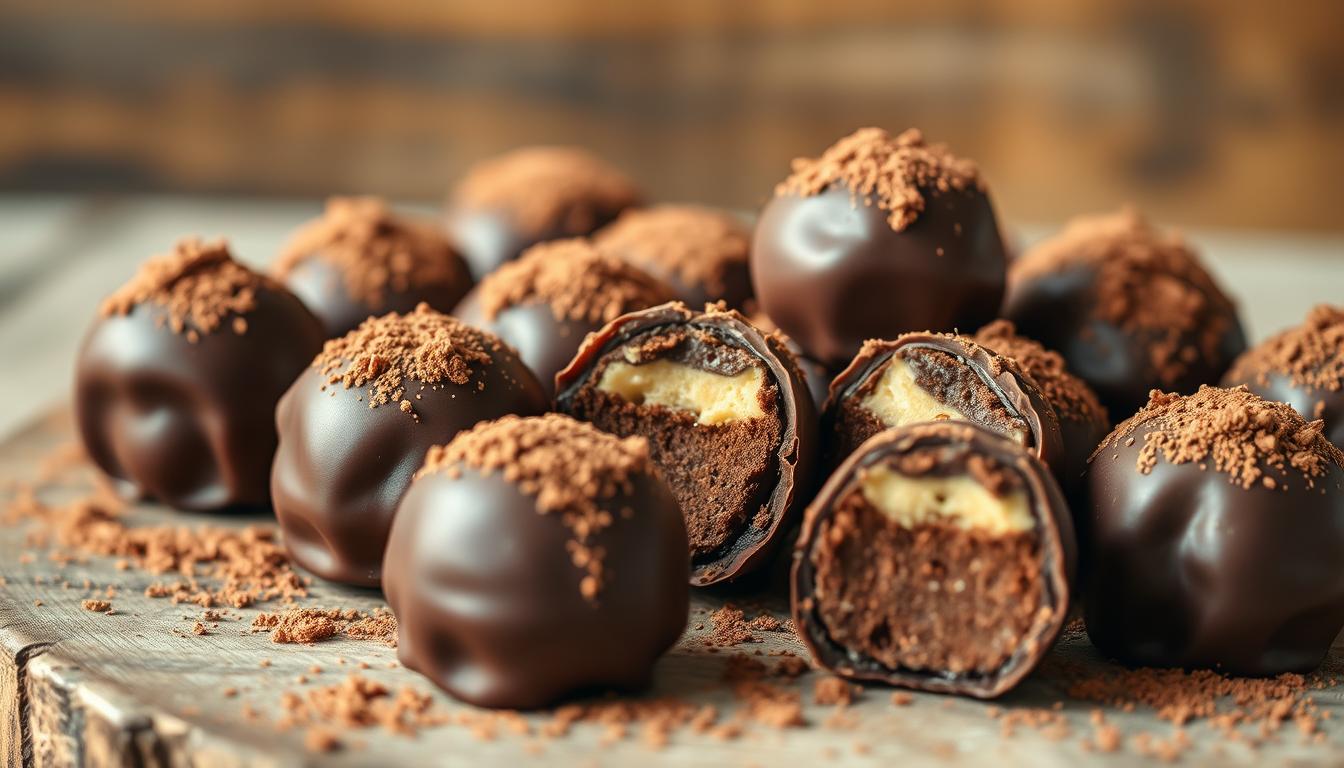
Golden-Dusted Chocolate Treasure in your Kitchen
Your kitchen now holds the secret to crafting golden-dusted chocolate treasures.
This recipe transforms basic pantry items into luxurious bites rivaling premium store brands.
With around 15 perfect spheres per batch, you’ll always have ready-to-share treats stashed in the fridge.
Store your creations in airtight containers for up to two weeks.
Freeze extras for spontaneous cravings. Just thaw for 15 minutes before serving. Each 120-calorie ball balances rich flavor with wholesome ingredients you control.
Personalize your truffles using different nut butters or dark chocolate percentages.
Swap coatings between crushed hazelnuts and toasted coconut for variety.
No fancy equipment needed, just a food processor and baking sheet unlock gourmet results.
Share these handheld delights as edible gifts or savor them privately.
Either way, you’ve proven that exceptional chocolate candy needs no fancy packaging – just creativity and quality components. Time to taste your homemade magic!
FAQ
Can I substitute hazelnuts with another nut?
You can swap hazelnuts for almonds or pecans, but the flavor will differ slightly. For authenticity, roasted hazelnuts work best to mimic that signature crunch and earthy taste.
How do I prevent the chocolate coating from cracking?
Ensure your melted chocolate isn’t too thick—add a teaspoon of coconut oil to thin it. Let the truffles chill fully before coating, and tap off excess chocolate gently for a smooth finish.
Are these candies gluten-free?
Yes, if you use gluten-free wafer cookies or omit them entirely. Always check labels on chocolate and other ingredients to confirm they meet dietary needs.
Can I make these vegan-friendly?
Absolutely! Use dairy-free chocolate and replace honey with maple syrup or agave. Opt for vegan wafer alternatives or skip them for a simpler version.
How long do homemade truffles stay fresh?
Store them in an airtight container in the fridge for up to two weeks. For best texture, let them sit at room temperature for 5–10 minutes before serving.
Can I freeze the truffles for later?
Yes! Freeze them on a baking sheet first, then transfer to a sealed container. Thaw in the fridge overnight before enjoying. They’ll keep for up to three months.
Why isn’t the filling holding its shape?
If the mixture feels too sticky, refrigerate it for 15–20 minutes to firm up. Adding a bit more crushed wafer or nut flour can also help bind it.